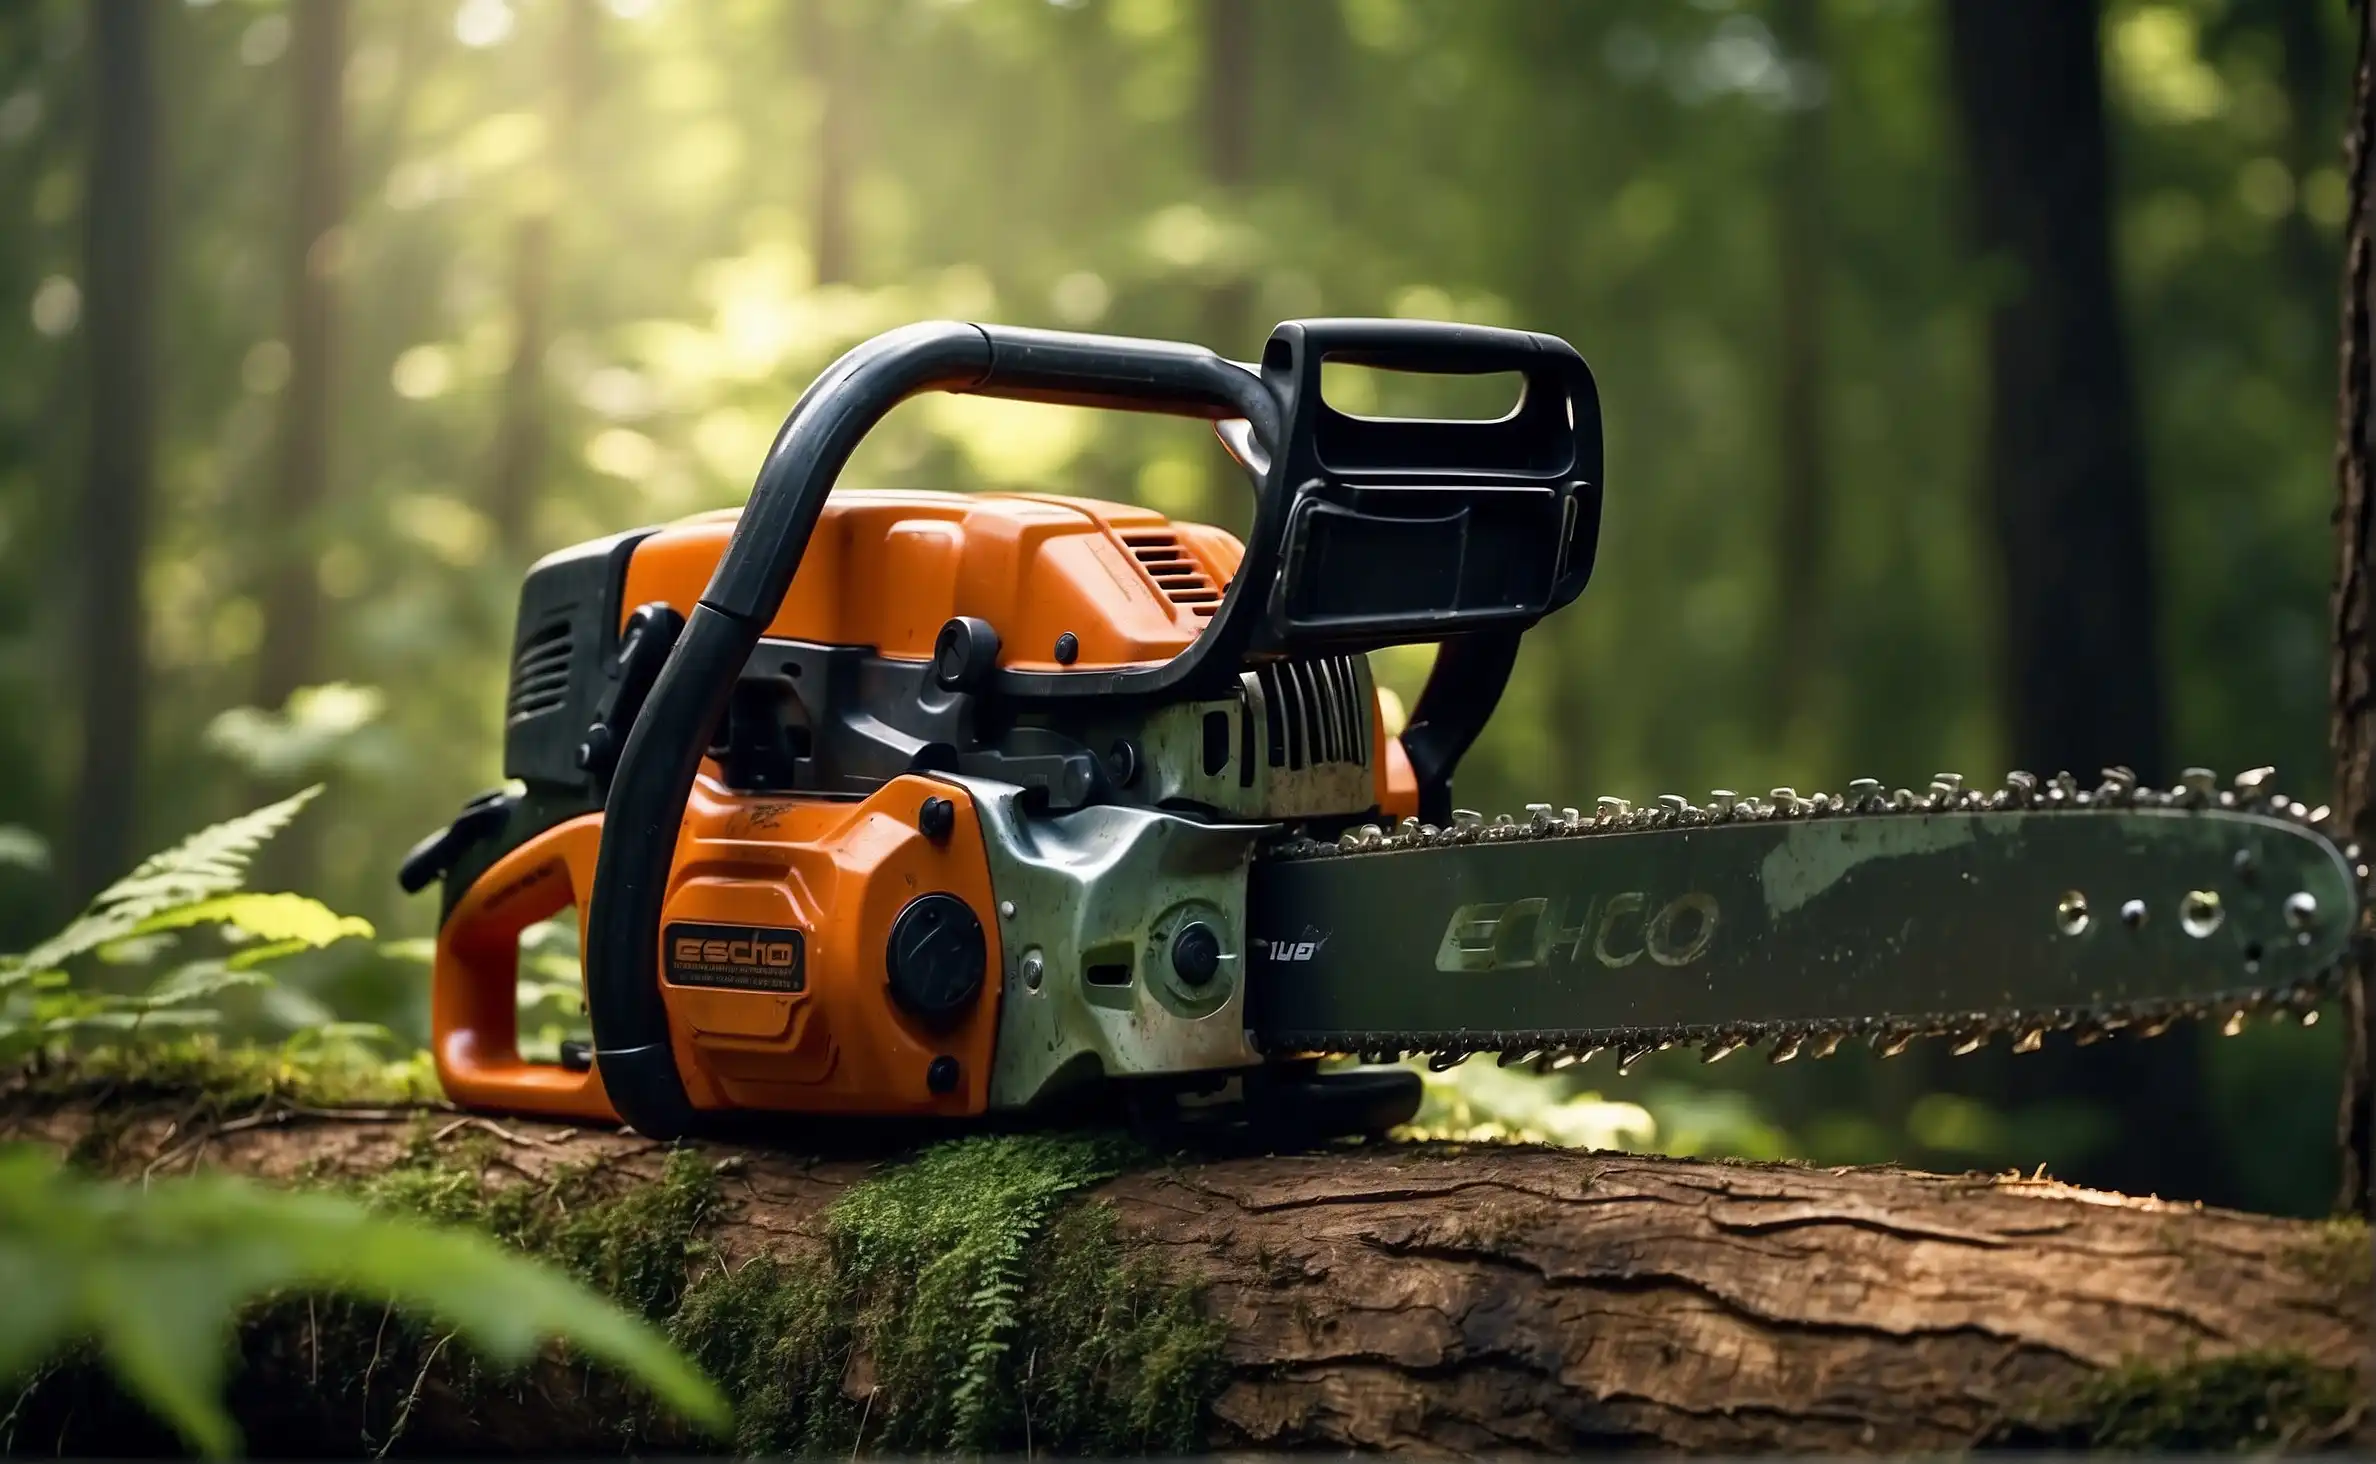
Install the chainsaw chain with teeth pointing towards the bar’s tip on the top side and away on the bottom for proper cutting direction.
Understanding the proper installation and orientation of a chainsaw chain is crucial for safe and effective operation. In this guide, we’ll delve into the details of which direction your chainsaw chain should go.
The Importance of Chain Direction in Chainsaws
Before we get into the specifics of chain direction, let’s establish why it’s important. A chain correctly installed will ensure:
- Efficiency: Enhances cutting performance by ensuring the sharp edges contact the wood first.
- Safety: Reduces the risk of kickback and other potential accidents caused by improper installation.
- Longevity: Decreases unnecessary wear on the chainsaw’s bar and motor.
Identifying the Correct Chain Direction
When it comes to installing a chainsaw chain, the sharp edges of the cutting teeth must face forward in the top part of the chain bar. The easiest way to ensure this is by checking the orientation of the cutting teeth:
| Chain Part | Correct Direction | Description |
|---|---|---|
| Cutting Teeth | Pointing Forward | The sharp edges of the cutting teeth should point towards the direction of rotation, which is away from the chainsaw body. |
| Drive Links | Sitting in the Bar Groove | These should fit well into the bar groove and engage with the sprocket. |
If you are still unsure of the chain direction, refer to your chainsaw’s user manual or look for directional arrows on the chain itself that indicate the proper orientation.
Step-by-Step Guide to Installing Chainsaw Chain Correctly
What You’ll Need:
- Chainsaw
- New or sharpened chainsaw chain
- Safety gloves
- Chainsaw wrench or screwdriver (as required by your chainsaw model)
Installation Steps:
- Turn off the chainsaw and disconnect the spark plug for safety.
- Remove the chainsaw’s guide bar panel by unscrewing the nuts or releasing the locking mechanism.
- Clean any debris from the bar and the sprocket area.
- Locate the tensioning screw and loosen it slightly if necessary.
- Place the chain onto the bar, making sure the drive links are seated in the bar groove and the cutting teeth are facing forward on the top side.
- Ensure the chain sits firmly against the bar with no slack and that the chain’s teeth engage with the sprocket.
- Reattach the side panel and tighten the nuts or lock the mechanism without fully tightening.
- Adjust the tensioning screw until the chain fits snugly against the bottom of the bar but still rotates freely.
- Fully tighten the side panel nuts.
- Perform a safety check to ensure the chain is installed correctly and is properly tensioned.
Note: If you are not confident in your ability to install a chainsaw chain correctly, seek out a professional or go to a local hardware store for assistance.
Common Mistakes to Avoid
To conclude, let’s review some common mistakes you should avoid when it comes to chainsaw chain installation:
- Installing the chain backwards with cutting teeth facing the wrong direction.
- Over-tightening the chain, which can lead to premature wear or breakage.
- Ignoring proper maintenance, such as regular sharpening and lubrication of the chain.
- Attempting to use a dull or damaged chain which can be unsafe and inefficient.
At Chainsaw Hive, our Knowledge area is brimming with insights that turn novices into seasoned chainsaw users.
To know more: Who Makes Bilt Hard Chainsaw
