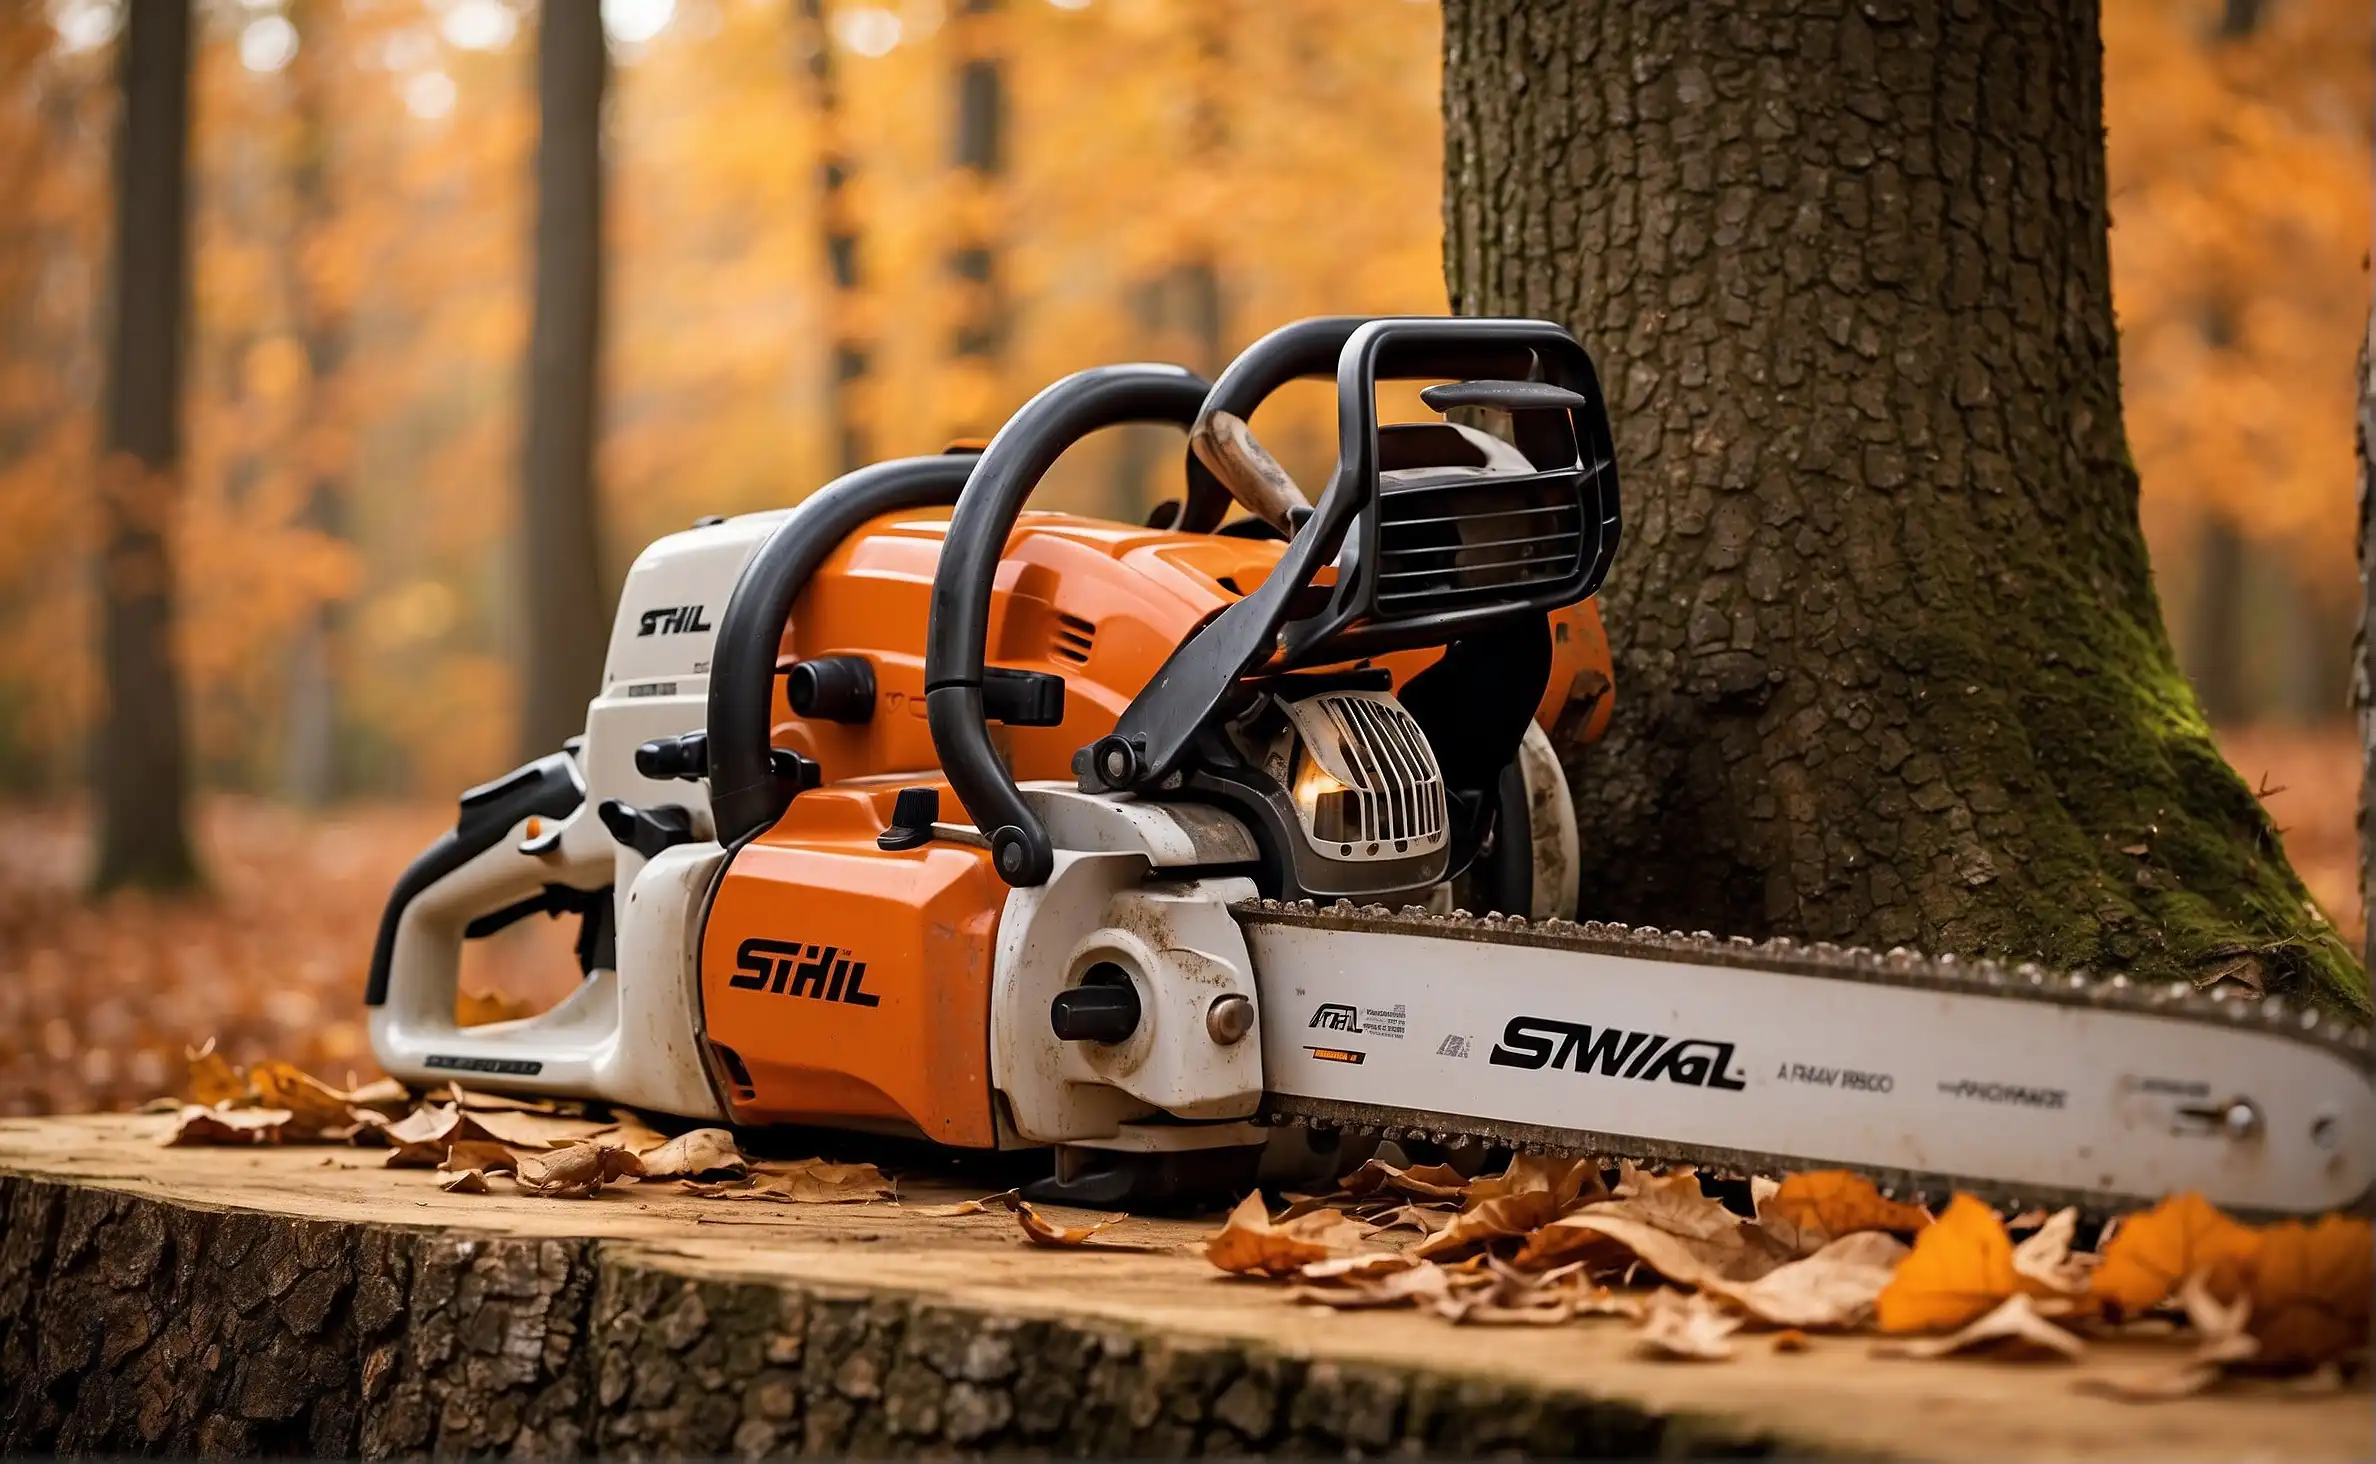
Install the chainsaw chain with the sharp edges facing forward on the top side of the bar for proper cutting direction and efficiency.
Are you confused about which way to install your chainsaw chain? Keep reading to learn the correct orientation for optimal performance and safety.
Importance of Correct Chainsaw Chain Installation
It is crucial to install your chainsaw chain in the correct direction to ensure both efficient cutting and personal safety. An incorrectly installed chain can increase the likelihood of kickbacks, dull the chain more quickly, and make your cutting tasks much more challenging. Understanding the correct orientation is a fundamental part of chainsaw maintenance that every operator should know.
The Anatomy of a Chainsaw Chain
Before you can determine which way the chainsaw chain goes, you need to be familiar with the parts of the chain:
- Cutters: The teeth on the chain that do the cutting.
- Drive Links: The part of the chain that fits into the guide bar’s groove.
- Guide Bar: The long ‘blade’ of the chainsaw where the chain rotates.
Which Way Should the Chain Face?
To determine the correct direction for your chainsaw chain, follow these steps:
- Identify the cutters on the chain. They resemble sharp shark fins and should always be facing forward when mounted on the top part of the guide bar.
- Look at the guide bar’s direction. When looking at the saw from the top, the chain should move in a clockwise direction around the guide bar.
- Check the drive links. These should be pointing backwards when placed on the top of the guide bar, opposite to the direction of the cutters.
Step-by-Step Guide to Installing a Chainsaw Chain
Now that you know which way the chain should face, here’s how to install it:
- Power off the chainsaw and engage the chain brake for safety.
- Remove the guide bar side panel by loosening the nuts or screws.
- Release the tension on the chain by adjusting the tensioning screw.
- Carefully remove the old chain and guide bar.
- Clean any debris from the guide bar and the chain path on the saw.
- Align the new chain appropriately on the guide bar, ensuring the cutters are facing forward on the top edge.
- Place the guide bar back onto the chainsaw, fitting the drive links into the sprocket.
- Replace the side panel and tighten the nuts or screws loosely.
- Adjust the chain tension until there’s just a bit of give on the guide bar.
- Fully tighten the side panel nuts or screws while holding the guide bar up.
- Ensure the chain moves freely along the guide bar and that it is not too tight or too loose.
Reminder: Always refer to your chainsaw’s manual for specific instructions related to your model.
Troubleshooting and Tips
| Issue | Solution |
|---|---|
| Chain is too tight | Loosen the tensioning screw slightly. |
| Chain is too loose | Tighten the tensioning screw until the chain fits snugly. |
| Chain won’t move | Check for obstructions and ensure the brake is not engaged. |
| Uneven cutting | Ensure the chain is installed in the correct direction and is adequately sharpened. |
A well-maintained chainsaw chain is the key to efficient cutting. Regularly inspect and sharpen your chain, and replace it when necessary.
Know more: Who Makes Proyama Chainsaw
Conclusion
Knowing which way a chainsaw chain goes is essential for the safe and effective operation of your chainsaw. With this guide, you should feel confident in assessing the proper direction and installing the chain correctly. Remember to always prioritize safety and consult your chainsaw’s manual for model-specific instructions.
For the aficionados of chainsaws, our Knowledge section at Chainsaw Hive is a treasure trove of must-read guides and tips. Happy cutting!
