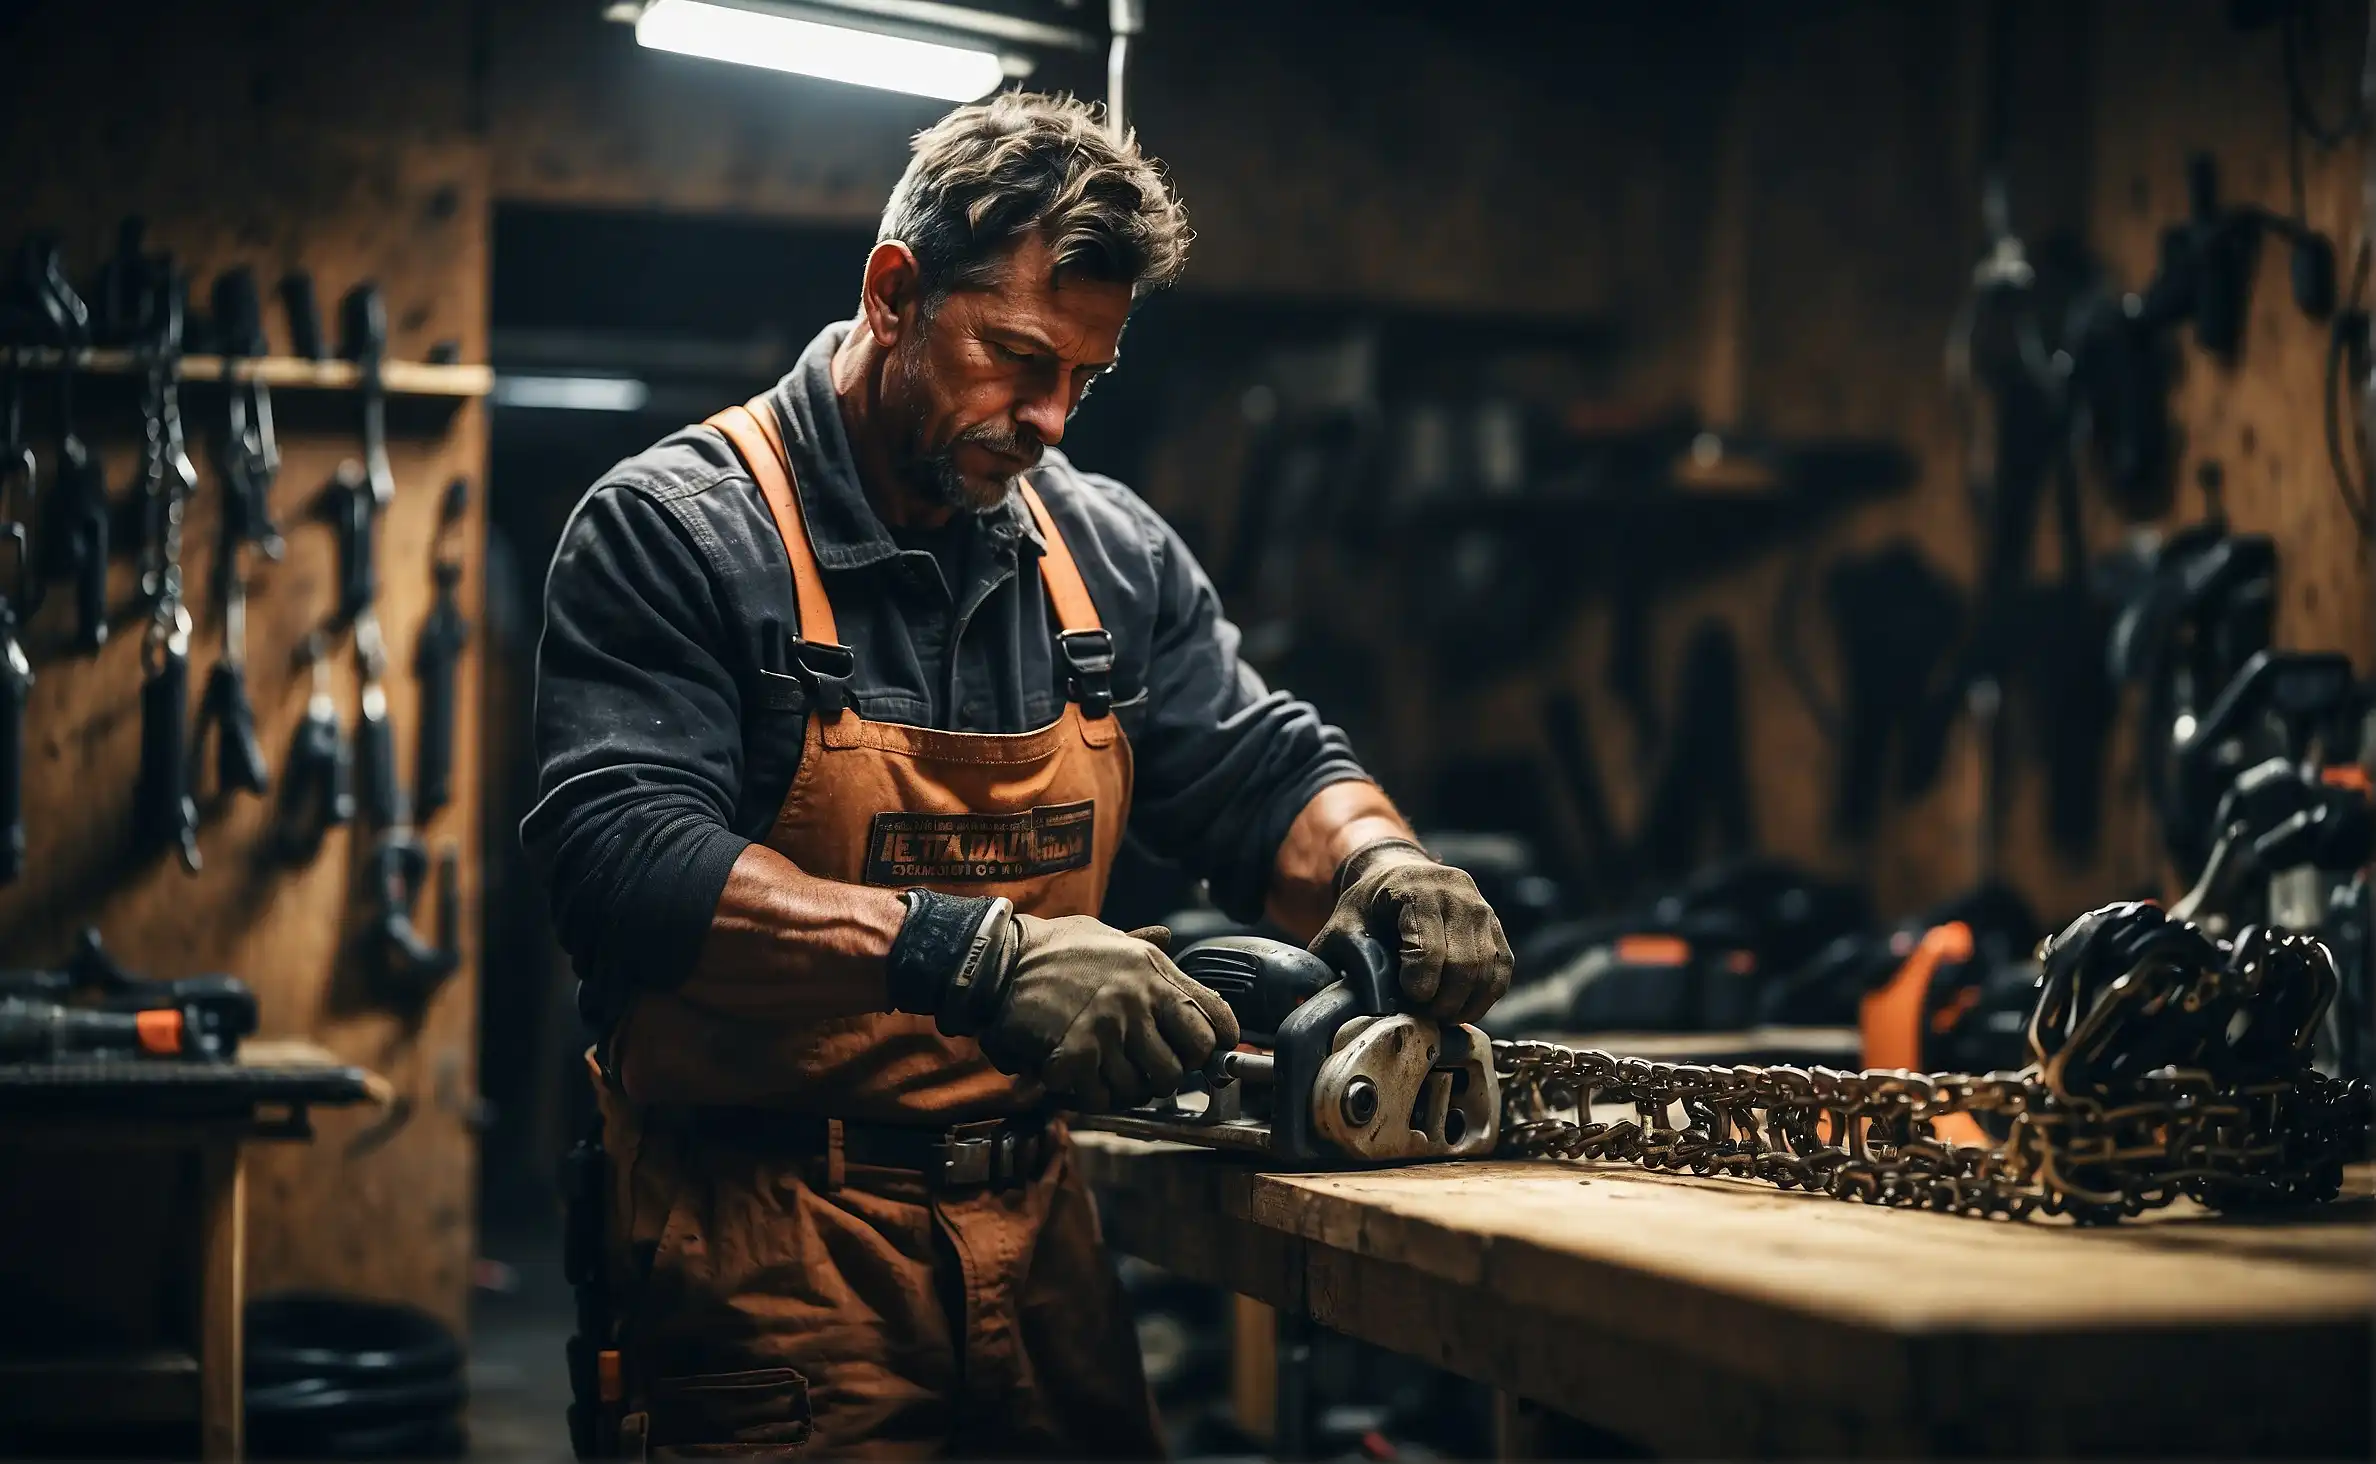
Install a chainsaw chain with the cutting teeth facing forward on the top of the bar, ensuring proper cutting direction and efficient operation.
Are you confused about the correct way to install a chainsaw chain? Fear not! This comprehensive guide will take you through the process step by step, ensuring that you get back to your wood-cutting tasks with ease and safety.
Installing a Chainsaw Chain
Chainsaws are powerful tools widely used for cutting wood, whether for construction, landscaping, or during emergency situations like removing fallen trees. However, with great power comes great responsibility – the chainsaw chain needs to be installed correctly to ensure both safety and efficiency. Installing a chainsaw chain incorrectly not only hampers your work but can also lead to dangerous accidents. In this article, we’ll discuss the importance of the correct chain direction, tools required, and a step-by-step installation guide.
Understanding the Direction of the Chainsaw Chain
The most crucial aspect of installing a chainsaw chain is ensuring that it is facing the right direction. Here are the clues to look out for:
- The cutting teeth should face forward on the top of the chainsaw bar.
- On the bottom, the cutting teeth should be directed backward towards the chainsaw itself.
- The cutting edge of the teeth should be facing out and away from the body of the chainsaw.
When held up, the saw teeth should look like this:
| Chain’s Position | Direction of Teeth | Correct Orientation |
|---|---|---|
| Top of chainsaw bar | Teeth pointing forward | Yes |
| Bottom of chainsaw bar | Teeth pointing backward | Yes |
If the teeth on the top of the bar are pointing backward, the chain is installed incorrectly and needs to be reversed.
Tools and Preparations Before Installation
Before you start the installation process, you’ll need to gather the following tools:
- Sturdy gloves for hand protection.
- A flat surface to work on.
- A chainsaw wrench or screwdriver.
- Manufacturer’s manual (if available, for specific instructions).
- Ensure the chainsaw is turned off and completely cool.
- Engage the chain brake by pushing it forward.
- Place the chainsaw on a flat surface and remove the guide bar side panel.
Step-by-Step Chain Installation Process
Step 1: Remove the Side Plate
With the chain brake engaged, use the chainsaw wrench or screwdriver to remove the nuts holding the side plate in place. Carefully lift the side plate off and set it aside.
Step 2: Clear the Area
Ensure the area around the chain sprocket and guide bar is clean of any wood chips or debris that may have accumulated.
Step 3: Release the Tensioning Screw
Locate the tensioning screw and release tension by turning it. This will make it easier to fit the chain around the guide bar.
Step 4: Install the Chain
Starting at the sprocket, place the chain around it, ensuring it sits correctly in the groove. Keep in mind the correct orientation of the teeth, which should be pointing forward on the top side of the bar. String the rest of the chain along the groove of the bar.
Step 5: Replace the Side Plate and Apply Tension
Once the chain is correctly placed, replace the side plate. Before tightening the nuts, turn the tensioning screw to begin applying tension to the new chain. The chain should be snug but still able to rotate easily around the bar.
Step 6: Secure the Chain and Test
Tighten the side plate nuts while holding the nose of the bar up. Check the tension by lifting the chain slightly away from the bar. It should snap back into place. Release the chain brake and ensure that the chain can rotate freely around the bar.
Step 7: Final Checks
With the chain installed, perform a few final checks:
- Check for proper tension by pulling on the chain. It should not be loose or hanging.
- Ensure the chain moves easily by hand when the brake is released (careful to wear gloves).
- Start your chainsaw and observe the chain’s movement. It should rotate smoothly without hesitation or irregular motion.
Learn: Why Isn’t My Chainsaw Cutting
Final Thoughts
Now that you know how to install a chainsaw chain in the correct direction, you’ll be able to replace or maintain your chainsaw’s chain with confidence. Remember to regularly check the tension and wear of your chain to ensure the longevity and safety of your chainsaw.
Stay sharp with the latest chainsaw insights and tips – just a click away in our Knowledge category at Chainsaw Hive. Happy cutting!
