To put a chain on a chainsaw, first ensure the saw is off and the brake is engaged. Next, place the chain around the sprocket, align it with the guide bar, and secure the cover.
Replacing a chainsaw chain appears challenging, but it’s a straightforward task with immense benefits for anyone familiar with general tool maintenance. A well-fitted chain is critical for efficient cutting and user safety. Consequently, understanding the correct method of chain installation is essential for both professional lumberjacks and casual users alike.
Equipped with the right information and a few minutes, you can ensure your chainsaw operates at peak performance. Mastery of this skill not only saves time and money but significantly enhances the chainsaw’s lifespan, making it a key aspect of power tool care.
About Chainsaw Maintenance
Maintaining a chainsaw is crucial for its performance and longevity. Regular upkeep ensures clean cuts every time. It also helps in avoiding potential harm during operation. A key part of chainsaw maintenance is managing the chain. Over time, chains can become dull, stretched, or damaged. Knowing how to replace or adjust the chain is essential for every chainsaw owner. A well-maintained chainsaw is safer, more efficient, and easier to handle.
Understanding the Importance of a Well-maintained Chainsaw
A chainsaw with a well-maintained chain makes cutting tasks smoother and quicker. Sharp and properly tensioned chains reduce the workload on the motor. This maintenance ensures a longer lifespan for the equipment. Chains that are in good shape also minimize the risk of kickback. That is one of the most common causes of chainsaw-related accidents.
Safety Precautions Before Starting
- Wear protective gear: Gloves and safety glasses are a must.
- Disconnect the power source: Ensure the chainsaw is off and unplugged or the spark plug is disconnected for gas models.
- Secure the chainsaw: Clamp it down or place it securely on a flat surface to prevent movement.
- Read the manual: Manuals provide model-specific guidance that is crucial for safe maintenance.
Identifying the Right Chain For Your Chainsaw
Finding a perfect match for your chainsaw’s chain can feel like a puzzle. But with the right information, it’s a snap. Your chainsaw is only as good as the chain you equip it with, so let’s ensure you select the right one.
Chain Types and Sizes
Chains may look similar, but small differences affect performance. Here’s the scoop:
- Pitch: This is the distance between the links. Common sizes include ⅜ inches and .325 inches.
- Gauge: This is the thickness of the links. Typical gauges range from .043 inches to .063 inches.
- Drive Links: These make contact with the chainsaw and come in various lengths.
Grab your user manual. It has all the specs you need. No manual? Look at the old chain for numbers or take it to a pro.
Matching Chain to Chainsaw Model
Selecting the right chain is simple if you follow these steps:
- Identify Your Chainsaw: Check the model number on your saw.
- Check the Guide Bar: It often lists the required chain specs.
- Consult the Manufacturer: Their websites offer chain compatibility info.
A mismatch can be dangerous and damage your saw. Always double-check your find.
Correct fitting is crucial. A chain too loose or tight is a recipe for trouble.
Tools and Materials Needed For Chain Installation
Tackling the task of putting a chain on a chainsaw requires specific tools and materials. Having everything you need within arm’s reach simplifies the process. Ensuring an organized setup and the right equipment makes chain installation safe and efficient.
Essential Tools For The Job
The right tools are crucial for replacing a chainsaw chain. Before starting, gather these items:
- Chainsaw Wrench – Tightens and loosens the bar nuts.
- Screwdriver – Adjusts the chain tension.
- New Chain – Must match the chainsaw’s specifications.
- Gloves – Protects hands during installation.
- Cleaning Supplies – Keeps the workspace tidy.
Preparing Your Workspace
A clear and stable workspace is mandatory. Follow these steps before installing the new chain:
- Turn Off the Chainsaw – Ensure it’s off and cool.
- Clean the Area – Remove debris for a tidy surface.
- Lay Out Tools – Keep everything within reach.
- Secure Chainsaw – Prevent movement during work.
By preparing accordingly, you ensure a smooth and accident-free chain installation on your chainsaw.
Step-by-step Guide to Chainsaw Chain Installation
Whether you’re a seasoned professional or new to chainsaw maintenance, knowing how to install a chain correctly is crucial for safety and performance. Follow these simple steps, and you’ll have your chainsaw running smoothly in no time.
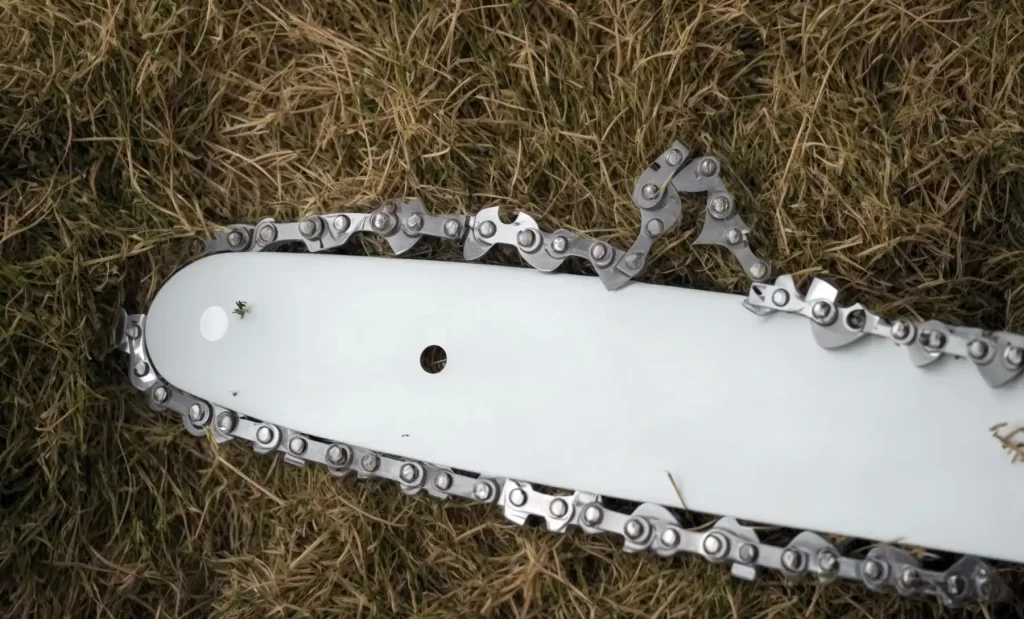
Removing the Old Chain
- Ensure the chainsaw is off and cool to the touch.
- Loosen and remove the nuts holding the side plate.
- Carefully take off the side plate.
- Release the tension on the chain by turning the tensioning screw.
- Gently remove the old chain from the bar.
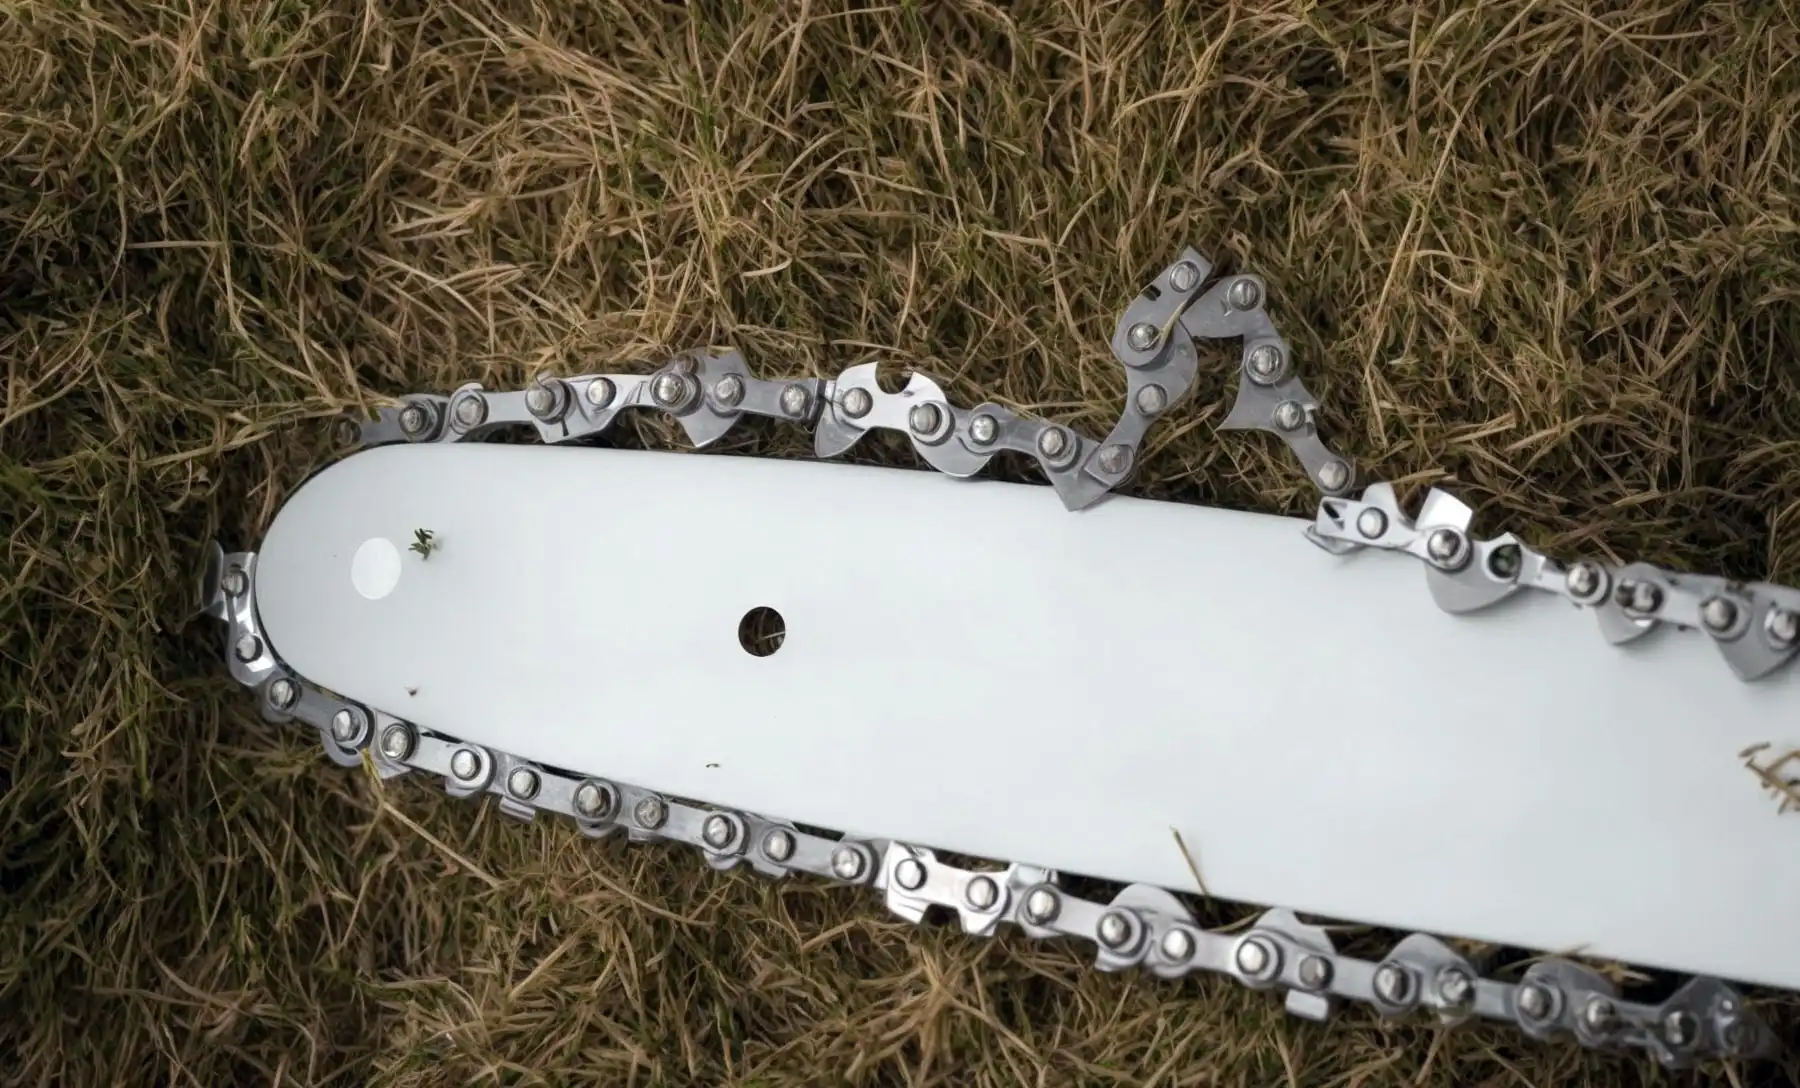
Attaching the New Chain Properly
Attaching the new chain correctly is vital for safe chainsaw operation. Follow these steps:
- Check the new chain for the correct size and type.
- Place the chain around the sprocket.
- Align the drive links in the bar groove.
- Replace the side plate, being cautious not to over-tighten.
Adjusting Chain Tension For Optimal Performance
Proper chain tension is essential for peak performance and safety. To adjust:
- Slightly loosen the side plate nuts.
- Turn the tensioning screw clockwise for more tension.
- Lift the tip of the bar up as you tighten the nuts.
- Check for slight give on the chain when pulling.
| Step | Action | Goal |
|---|---|---|
| 1 | Loosen the Nuts | Remove Side Plate |
| 2 | Remove Old Chain | Prepare for New Chain |
| 3 | Attach New Chain | Ensure Proper Fit |
| 4 | Adjust Tension | Optimize Performance |
Always wear gloves and take safety precautions when handling a chainsaw. Regular maintenance, including chain installation, is key to your chainsaw’s longevity and your safety.
Post-installation Checks and Maintenance Tips
After fitting a new chain to your chainsaw, proper checks and maintenance are crucial. These steps keep the chainsaw running smoothly and ensure your safety. Tips included here guide you through the necessary post-installation checks and offer maintenance advice.
Safety Checks After Installing New Chain
Before using the newly equipped chainsaw, perform these safety checks:
- Proper Tension: Ensure the chain fits snugly against the bar but allows for slight movement.
- Test Brake: Check the chain brake’s functionality by activating and releasing it.
- Bar Alignment: Confirm the guide bar is straight and properly aligned.
- Check for Loose Parts: Tighten any loose nuts or bolts on the saw.
Maintaining Chain Sharpness and Lubrication
Keep your chainsaw’s performance at its peak with these tips:
- Sharp Teeth: Use a file to sharpen the teeth, following the correct angle.
- Clean Chain: Remove debris from the chain with a brush or cloth.
- Lubricate: Regularly fill the oil reservoir to ensure proper lubrication.
Regular Chainsaw Inspection and Maintenance Schedule
Aim for longevity and reliability by adhering to the following schedule:
| Frequency | Task |
|---|---|
| Daily | Check chain tension and sharpness |
| Weekly | Clean the air filter and inspect the spark plug |
| Monthly | Clean the cooling system; inspect the clutch and sprocket |
Learn more: Can a Chainsaw Cut Metal
Conclusion for Put a Chain on a Chainsaw
Replacing your chainsaw chain doesn’t have to be daunting. With the right tools and our step-by-step guide, you’ll have the job done quickly and safely. Remember to always prioritize safety by wearing gloves and glasses. Practice makes perfect, so each chain change will get smoother.
Chainsaw Hive is where your chainsaw curiosity grows. Check out our Knowledge category for compelling reads. Happy sawing!