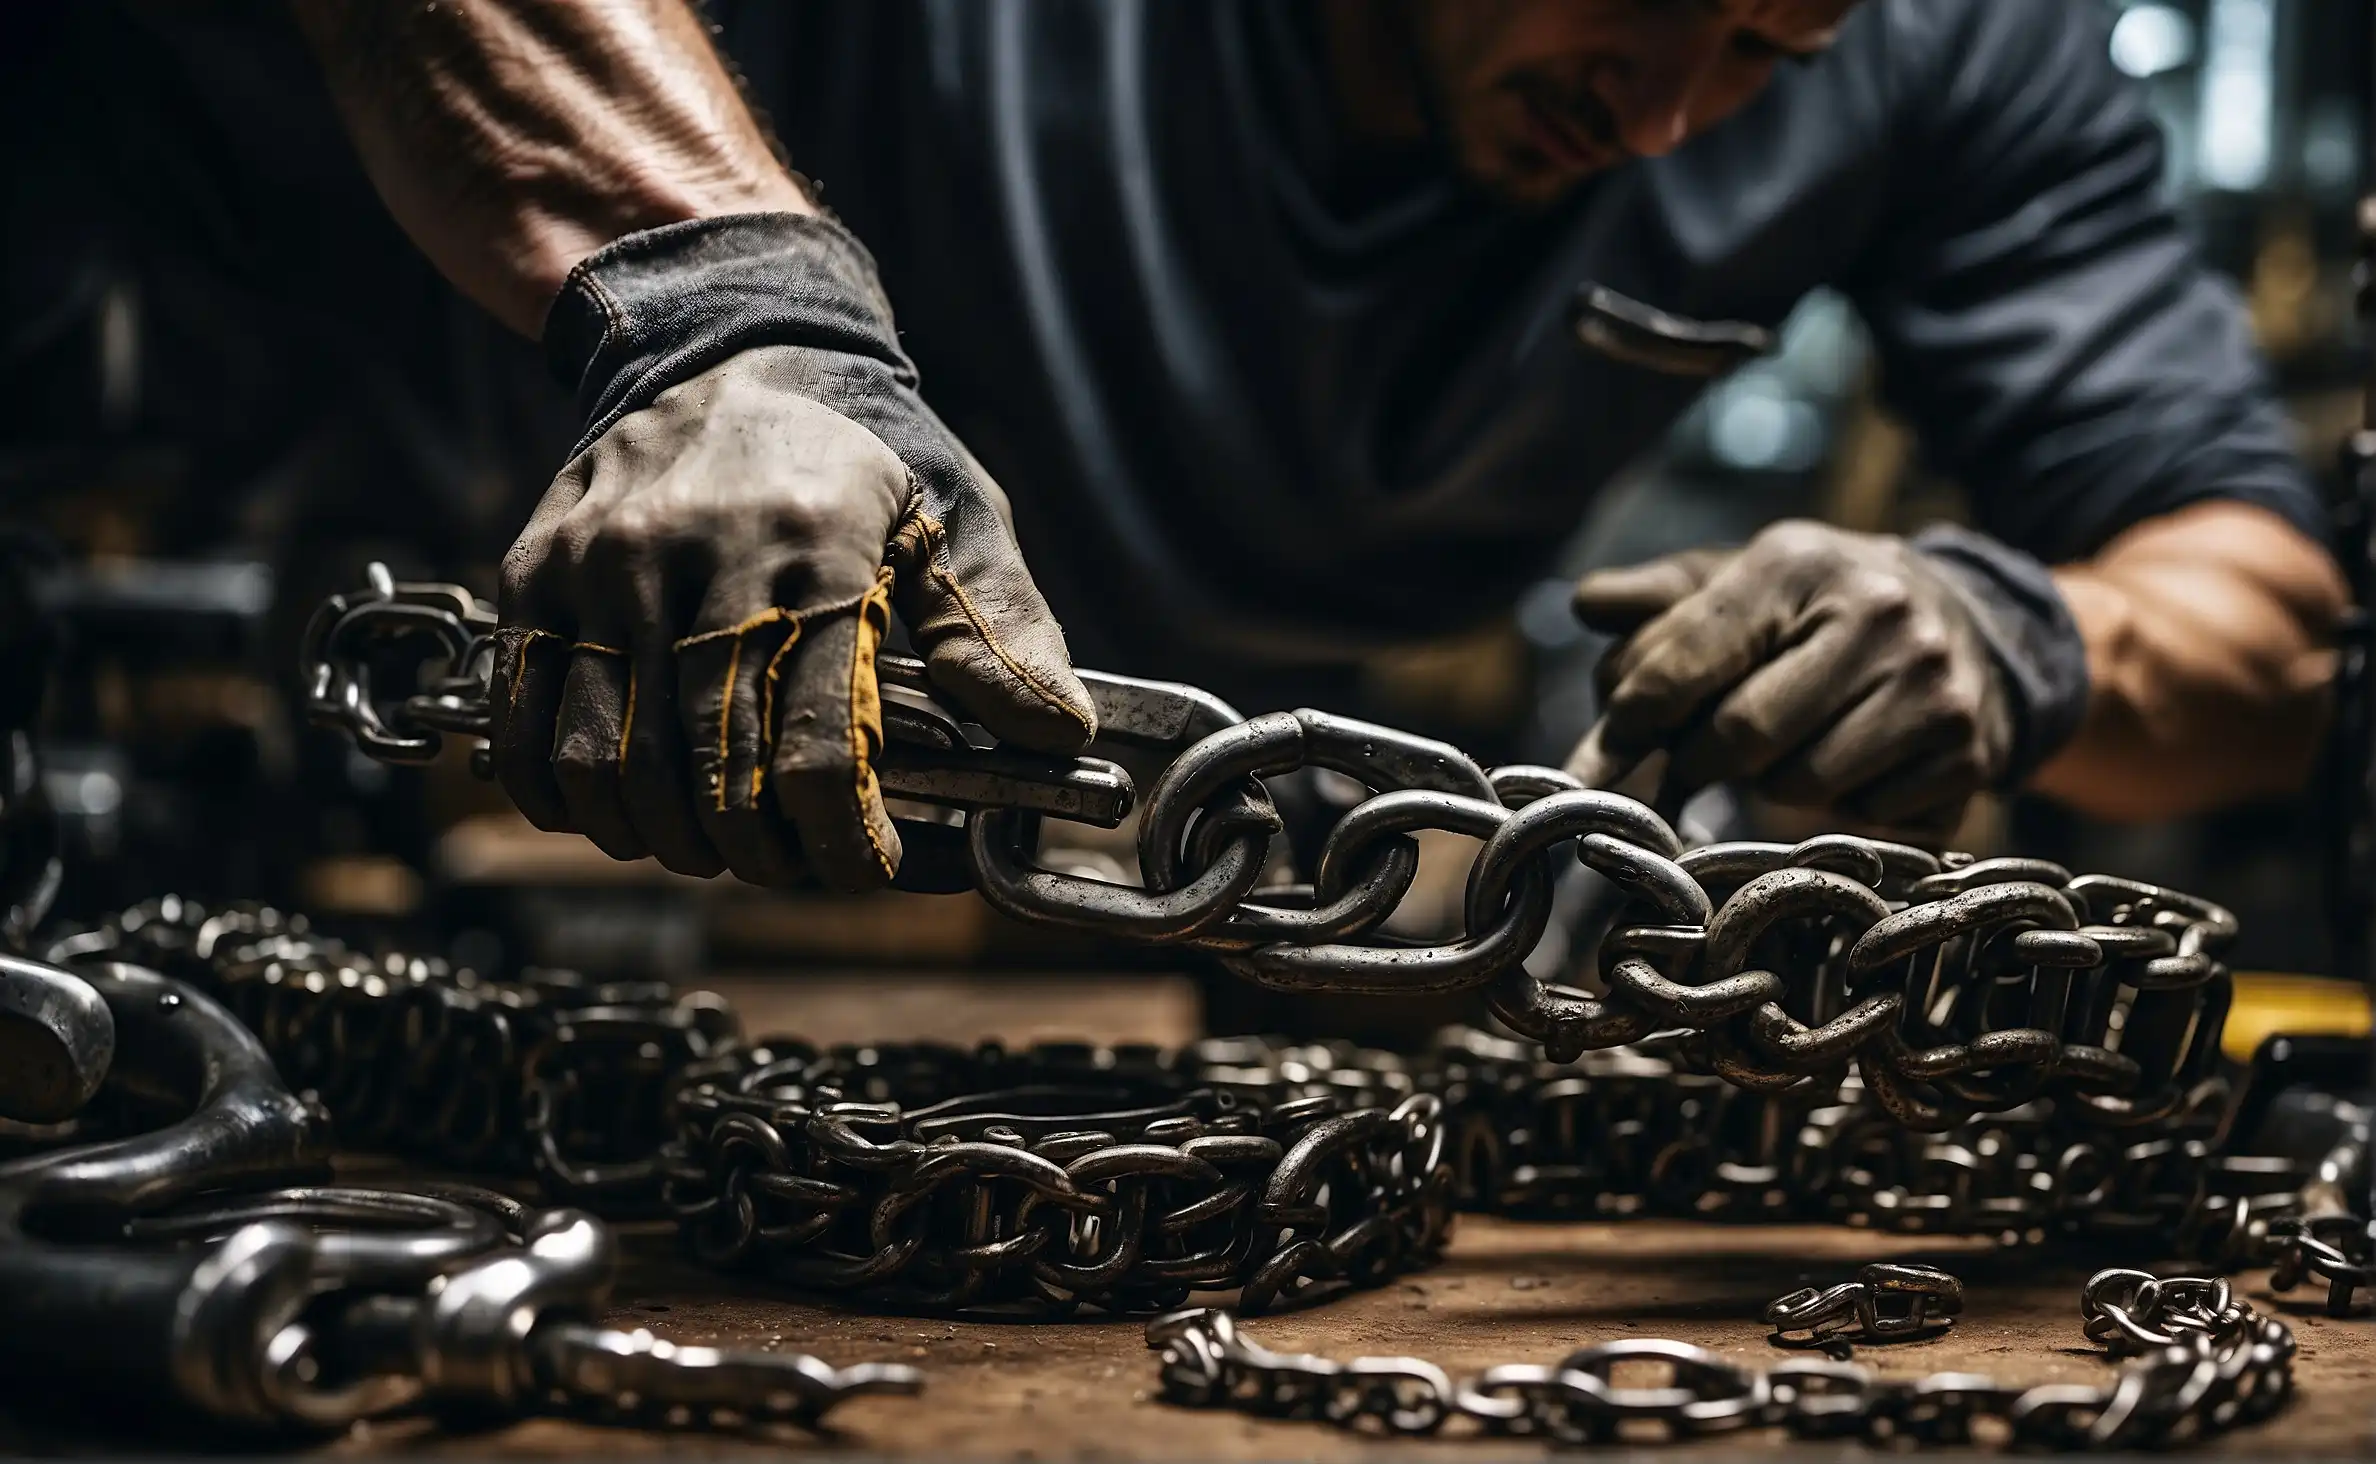
To remove a link from a chainsaw chain, first secure the chain and then use a chain breaker tool. Align the tool’s punch with the rivet to be removed and apply pressure until the rivet pops out.
Maintaining a chainsaw involves regular adjustment and sometimes shortening the chain by removing links to ensure a tight fit and safe operation. This task requires precision to keep the chainsaw in optimal condition. A chainsaw is an essential tool for many outdoor tasks, from tree felling to pruning, and a well-functioning chain is key to effective cutting.
Learning to remove a link from the chain is an invaluable skill that saves both time and money, preventing the need for professional services. With the right tools and technique, you can safely and efficiently perform this maintenance chore, keeping your chainsaw’s performance at its peak. Understanding how to manipulate the chain’s components ensures not only the longevity of the equipment but also your own safety.
Understanding Chainsaw Chain Links Removal
Removing a chainsaw chain link requires precision and the correct tools. Master the technique with our straightforward guide, ensuring your chainsaw maintains optimal performance.
A chainsaw is an invaluable tool for cutting through wood quickly and efficiently. However, like any tool, it requires regular maintenance to function effectively. Part of this maintenance may involve adjusting the chain’s length by removing excess links. A chain that’s too long can sag and potentially come off the bar, while one that’s too tight can cause excessive wear on the chainsaw and be dangerous to operate.
Importance Of Removing Links From Chainsaw Chain
- Maintains optimal tension for safe operations
- Enhances the chainsaw’s cutting performance
- Prevents chain from dislodging from the bar
- Extends the life of the chainsaw by reducing strain on the motor
Safety Precautions Before Starting
Undertaking any form of maintenance on a chainsaw necessitates a focus on safety. Given the sharpness of the chain and the potential for injury, taking the right precautions before starting the link removal process is non-negotiable.
| Precaution | Action | Reason |
|---|---|---|
| Personal Protective Equipment (PPE) | Wear gloves, safety glasses | Protects hands and eyes |
| Power Source | Disconnect spark plug (gas chainsaws), remove battery (electric chainsaws) | Prevents accidental start-up |
| Work Area | Choose a clean, well-lit space | Allows clear visibility and reduces risk of accidents |
| Tools | Use correct chain-breaking tools | Ensures precise and efficient link removal |
- Always refer to the chainsaw’s manual before any maintenance.
- Inspect the chainsaw and chain for any signs of damage prior to starting.
- Ensure no flammable materials are close by, especially if you’re using a gas-powered chainsaw.
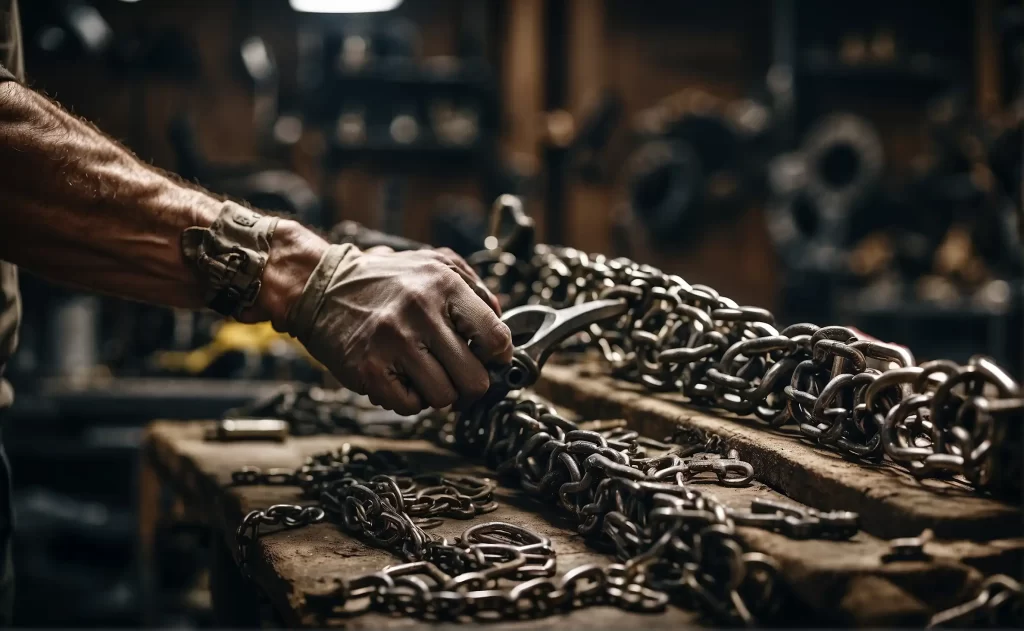
Tools Required
For successful chainsaw chain link removal, a chain breaker and a rivet spinner are essential tools. Ensure your toolkit includes these items to swiftly and safely disconnect the chain links.
List Of Necessary Tools
- Chainsaw Chain Breaker: Essential for pushing out the pins holding the links together.
- Chain Rivet Spinner: Used to reassemble the chain securely after link removal.
- Flat Head Screwdriver: Helps in adjusting the chain breaker and spinner.
- Nose Pliers: Useful for grasping and positioning the chain links.
- Bench Vice: Holds the chain still and ensures stability during the process.
- Replacement Chain Links: Necessary if you’re planning to replace the removed link.
- Safety Glasses: To protect your eyes from metal filings or sparks.
- Work Gloves: Provide a good grip and protect your hands.
Purpose Of Each Tool
| Tool | Purpose |
|---|---|
| Chainsaw Chain Breaker | Drives the pin out of the chain link to detach it. |
| Chain Rivet Spinner | Spins the rivets back into place when reconnecting the links. |
| Flat Head Screwdriver | Makes fine adjustments to the chain breaker and spinner mechanisms. |
| Nose Pliers | Manipulates the chain link, aiding in both removal and reattachment. |
| Bench Vice | Secures the chainsaw chain in place, preventing any movement during the process. |
| Replacement Chain Links | Used to replace any damaged or removed links, maintaining chain integrity. |
| Safety Glasses | Protects eyes from flying debris and metal shards. |
| Work Gloves | Ensures a safe grip on tools and protects hands from injury. |
Step-by-Step Guide to Remove a Link from a Chainsaw Chain
Removing a link from a chainsaw chain might seem daunting, but with the right approach, it’s a straightforward process. Let’s walk through each step to ensure you can perform this task with confidence.
Inspection of the Chain
Firstly, ensure your chainsaw is powered off and disconnected from any power source. Safety is paramount. Clean the chain if necessary, as dirt or rust can obscure your view of the links and make the job harder.
Identifying the Link to Be Removed
Examine the chain closely to find the link that needs removal. It could be visibly damaged or worn out. Once identified, mark this link with chalk or a marker for easy identification during removal.
Loosening the Chain Tension
Adjust the chainsaw’s tension screw to loosen the chain. This step is crucial for providing the necessary slack to work on the chain comfortably.
Dismantling the Chain
Use a chain breaker tool, which is specifically designed for this task. If you don’t have one, a small punch and hammer can work as an alternative. Position the chain in the chain breaker, aligning the tool’s pin with the rivet of the marked link. Apply steady pressure to push the pin out, freeing the link from the chain.
Removing the Link
Once the rivet is out, you can remove the link. Be cautious and handle the chain gently to avoid any additional strain or damage to the surrounding links.
Reassembling the Chain
After the link is removed, it’s time to put the chain back together. Carefully reattach the chain to the chainsaw, ensuring it’s properly aligned and facing the correct direction. Finally, adjust the tension screw to secure the chain at an appropriate tightness.
Following these steps will help you successfully remove a link from your chainsaw chain. It’s a useful skill that enhances your understanding of your tool and can save you time and resources. Remember, always prioritize safety and refer to your chainsaw’s manual for specific guidance related to your model.
Learn more: Can a Chainsaw Cut Through Bone
Proper Maintenance After Link Removal
Once you’ve successfully removed a link from your chainsaw chain, it’s crucial to perform proper maintenance to ensure your equipment runs smoothly and safely. Keeping your chainsaw in top condition involves lubrication, tension adjustment, and thorough testing of the chain. This essential maintenance not only prolongs the life of your chainsaw but also optimizes its performance. Let’s dive into the steps needed to maintain your chainsaw post link removal.
Chain Lubrication
- Ensure the oil reservoir is full before each use.
- Use the recommended chainsaw oil for your specific model.
- Check for proper oil flow to the chain; if inadequate, consult your manual to troubleshoot.
- Clean the oil ports regularly to prevent clogging and ensure smooth oil flow.
Tension Adjustment
- Turn off the saw and let it cool down.
- Loosen the nuts on the guide bar side panel.
- Turn the tensioning screw clockwise to tighten or counterclockwise to loosen the chain.
- The chain should be snug against the guide bar but still able to rotate freely.
- Retighten the nuts on the guide bar side panel after the desired tension is achieved.
Testing the Chain
| Step | Action |
|---|---|
| 1 | Wear protective gear, including gloves and eyewear. |
| 2 | Start the chainsaw and let it idle. |
| 3 | Check the chain rotation by slightly increasing the engine speed. |
| 4 | Ensure there’s no unusual vibration or noise. |
| 5 | Test cut on a small piece of wood to verify smooth operation. |
After testing, you’re ready to use your chainsaw with confidence, knowing you’ve taken the necessary steps for safe and effective operation.
Common Mistakes To Avoid During Link Removal
When tackling the task of removing a link from a chainsaw chain, precision and caution are paramount. A successful removal process ensures the longevity and efficacy of your equipment. Yet, even the most skilled individuals can slip up if they’re not careful. Below are critical mistakes to consider and sidestep to maintain the integrity of your chainsaw during link removal.
Overlooking Chain Condition
- Inspect the entire chain for damaged or overly worn links.
- Look for any sign of rust or corrosion that might compromise the chain’s structure.
- Ensure that the chain is properly tensioned to avoid inaccurate assessments.
Incorrect Tools Usage
- Choosing pliers or a screwdriver over a dedicated chain-breaking tool.
- Using a hammer without a proper backing, potentially damaging the chain’s other links.
- Operating without a sturdy work surface can lead to imprecise force application and further damage.
Only with the correct, dedicated tools will you achieve a smooth chain link removal.
Ignoring Safety Measures
- Failure to wear gloves can result in cuts, as the chain teeth are sharp.
- Lack of eye protection can lead to serious injury from metal filings or broken parts during the process.
- Forgetting to secure the remaining chain may cause it to snap back or shift, potentially causing harm.
Remember, no step in the maintenance process is minor enough to compromise on safety protocols.
Adhering to the guidelines and avoiding these mistakes will help prolong the life of your chainsaw chain and ensure a successful link removal experience.
Troubleshooting Potential Issues
When it comes time to remove a link from your chainsaw chain, the process can seem simple at a glance. However, adjusting the chain often comes with a set of unique challenges. By understanding common problems and knowing how to fix them upfront, you’ll save time and ensure that your chainsaw operates safely and effectively. Let’s navigate through some troubleshooting tips that every chainsaw owner should be aware of.
Jammed Chain Concerns
- Inspect the chain for any visible signs of damage or jamming. Look for bent links, which could be the culprit.
- Clean out any debris from the drive links with a brush or compressed air.
- Assess the chain tension — a slack chain can easily jump off and jam in the guide bar.
- If damaged, carefully remove the damaged link following the manufacturer’s instructions or replace the chain altogether.
Aligning the Chain Properly
- Position the chain back onto the bar, ensuring that the drive links engage with the sprocket correctly.
- Adjust the tension so that the chain neither sags nor is too tight, allowing for slight movement.
- Check that the cutting teeth are facing forward in the direction of the rotation.
- Perform a visual inspection to confirm the chain sits squarely in the bar’s groove.
Understanding the Impact On Chainsaw Performance
When you remove a link from a chainsaw chain, it’s not just about shortening its length; it has a direct effect on the chainsaw’s performance. A precise chain length is crucial for balanced tension and smooth operation. Shortening the chain improperly may lead to increased wear, potential damage to the chainsaw, and reduced cutting efficiency. Knowing how to maintain post-link removal functionality and ensure optimal performance is essential for any chainsaw operator.
Post-link Removal Functionality
After removing a link from the chainsaw chain, checking for post-link removal functionality is key. This entails:
- Examining chain tension: A tight enough chain ensures controlled cuts but requires careful adjustment to avoid excessive strain on the engine and bar.
- Assessing chain mobility: The chain must glide smoothly around the bar, with no snags or resistance.
- Observing alignment: The chain should align perfectly with the guide bar for accurate and efficient cutting.
Ensuring Optimal Performance
To guarantee your chainsaw functions at peak performance after adjusting the chain, consider these steps:
- Proper Lubrication: An adequately oiled chain reduces friction and heat buildup, essential for long-term durability.
- Regular Maintenance: Periodic inspections and cleaning preserve the chain’s condition and prevent premature wear.
- Sharpness Check: A sharp chain maximizes cutting efficiency; thus, regular sharpening is a must.
Final Tips
Embarking on a DIY journey to remove a link from your chainsaw chain sets the stage for enhanced performance and a longer lifespan for your equipment. With the importance of safety and precision in mind, the following subsections will wrap up the discussion with key insights and optimal practices to ensure your chainsaw remains in top-notch condition.
Importance Of Regular Chain Maintenance
- Regular cleaning to prevent the buildup of sap and debris.
- Proper tensioning to avoid slippage or snapping.
- Timely sharpening for peak cutting performance.
Key Takeaways And Reminders
Before wrapping up, here are the vital points to remember:
| Takeaway | Reminder |
|---|---|
| Safety is crucial | Always wear protective gear |
| Tool Selection | Use the right tools for link removal |
| Maintenance | Implement a regular maintenance schedule |
FAQs of How to Remove a Link From a Chainsaw Chain
Can I Remove a Chain Link Without a Tool?
Removing a chain link without a specialized tool is challenging. It is advisable to use a chainsaw chain breaker or a link removal tool. These tools help you safely and efficiently remove or replace links.
What Are the Steps to Detach a Chainsaw Chain Link?
To detach a link, first, ensure the chainsaw is off and disconnected. Loosen the chain tension and remove the guide bar. Locate the master link, remove its clip and plate, and then separate the link.
How Do I Identify the Master Link on a Chainsaw Chain?
The master link is distinct; it often has a clip or retainer and might look different from other links. It allows for easier connection or disconnection of the chain, and is usually found by visually inspecting the chain.
Is It Safe to Remove Links From a Chainsaw Chain?
It is safe if done correctly with the right tools and safety precautions. Always wear protective gear and work in a well-lit area. Incorrect link removal can lead to chain failure and potential injury.
Conclusion
Wrapping up, removing a chainsaw chain link is a straightforward process with the right tools. Practice safety and follow each step diligently for success. Regular maintenance ensures your chainsaw runs effectively for all your cutting needs. Remember, precision and care extend the life of your equipment.
Keep your green thumb and chainsaw skills sharp with Chainsaw Hive. We’re here to provide you with more insightful chainsaws content! Stay safe and cut smart!