To shorten a chainsaw chain, remove the chain and eliminate the desired number of links. Use the chain breaker tool to rejoin the remaining links.
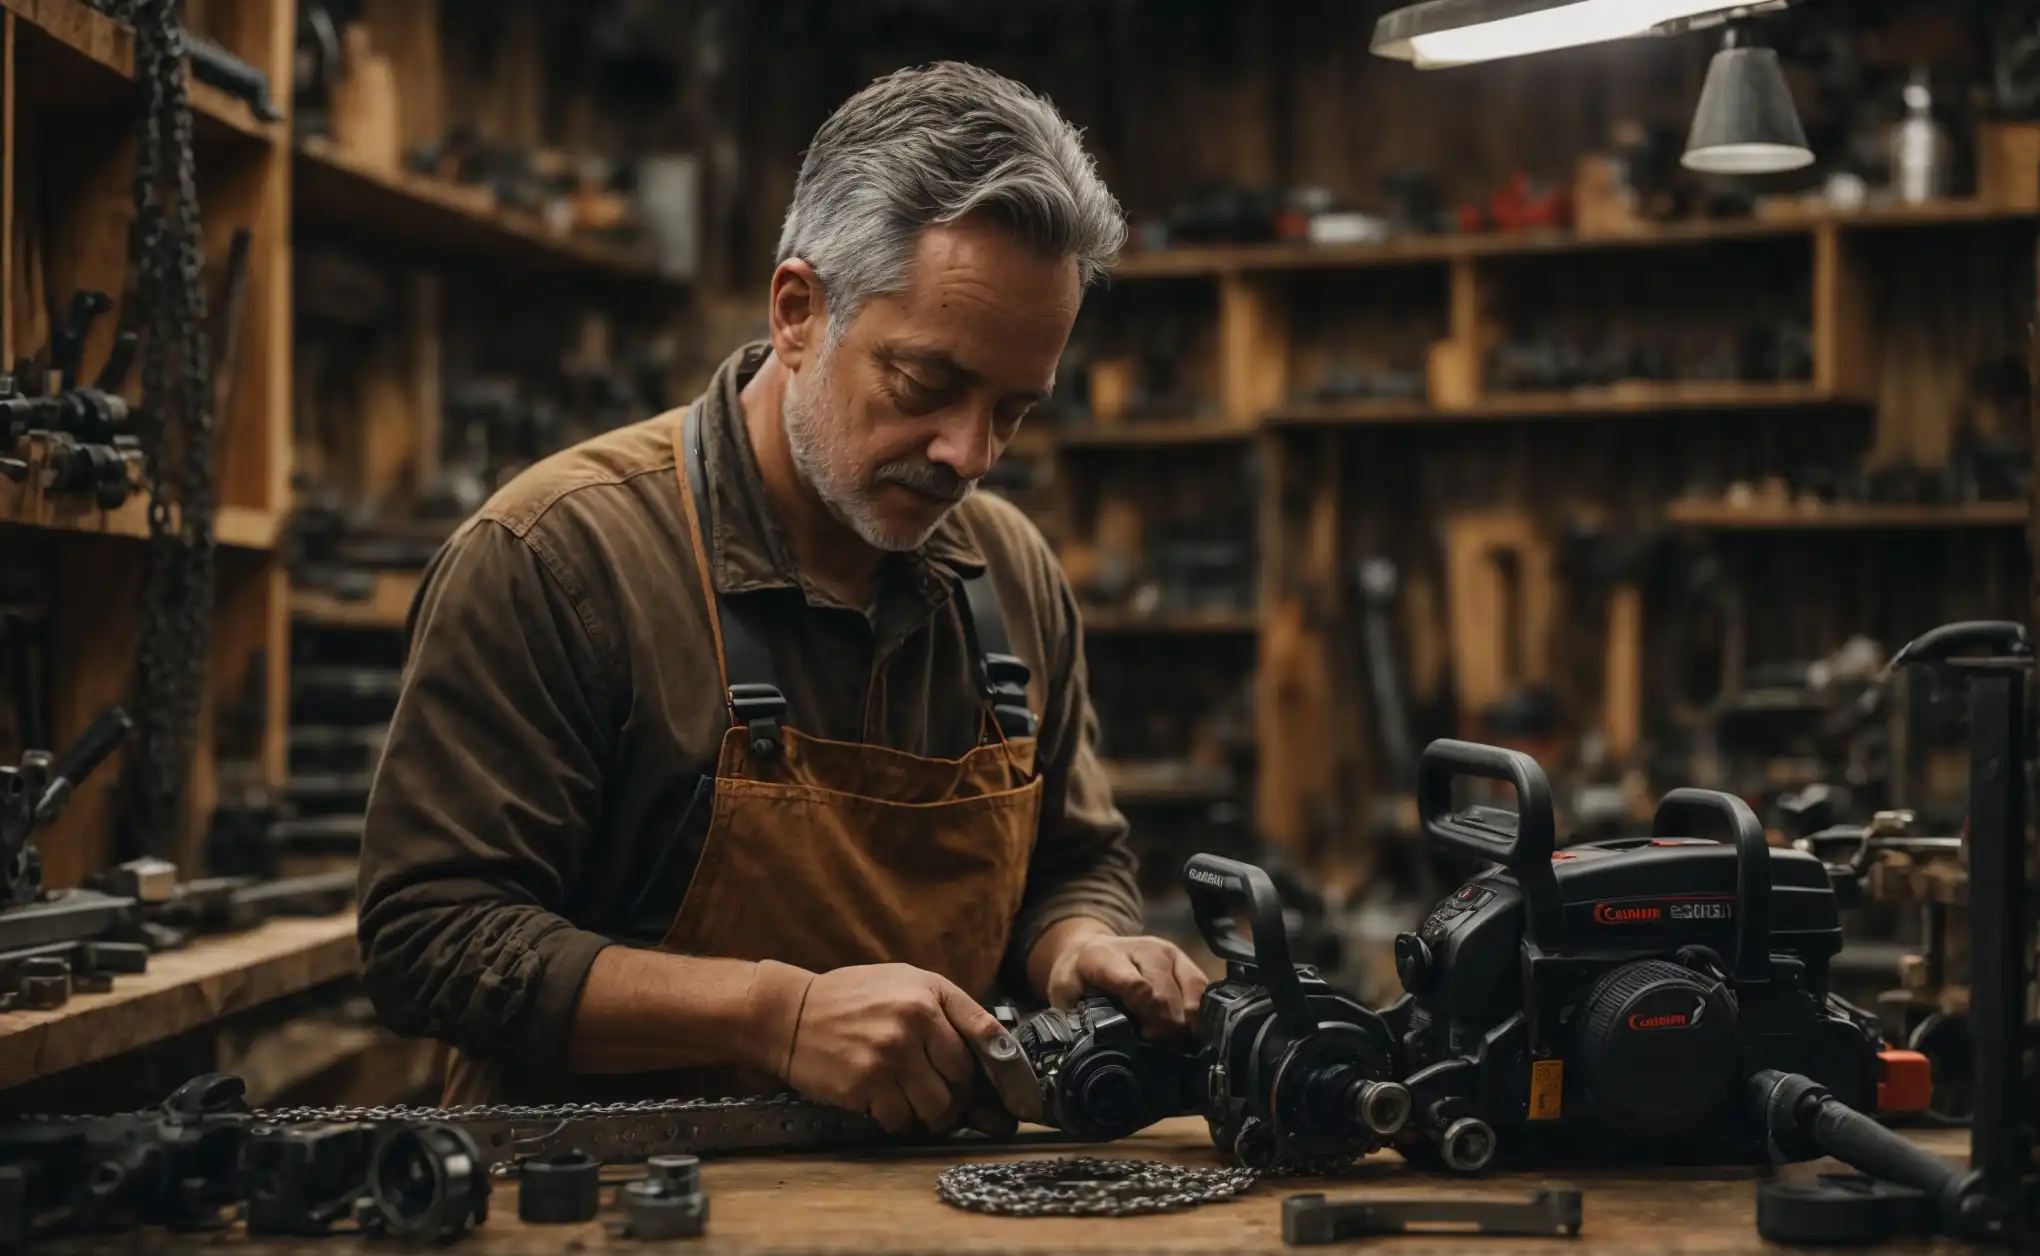
Mastering the technique of shortening a chainsaw chain ensures your tool operates safely and effectively. A chainsaw with a properly sized chain cuts with precision and maintains the balance necessary for the user’s safety. This common maintenance task may appear daunting to a novice, but by understanding the chainsaw’s anatomy and the process, it becomes a manageable job for any DIY enthusiast.
Over time, chains can stretch or become damaged, necessitating their shortening or complete replacement. Ensuring your chainsaw’s peak performance involves routine checks and adjustments, one aspect of which may be chain shortening—a skill that’s beneficial for both professional lumberjacks and home users alike. Whether you’re pruning branches or tackling larger cuts, a well-maintained chainsaw is indispensable for efficiency and safety.
Understanding Chainsaw Chain Shortening
Mastering chainsaw chain shortening boosts tool efficiency and safety. This guide simplifies the process, ensuring your chainsaw performs optimally with a properly sized chain. Craftsmanship meets practicality as you learn to adjust chain length like a pro.
Steps to Determine If the Chainsaw Chain Needs Shortening
To assess if it’s time to shorten your chainsaw chain, follow these indicators:
- Examine the Tension – Check the chain’s tension by pulling it away from the bar. If it easily disengages or has more than half an inch of give, shortening may be necessary.
- Inspect the Drive Links – Worn drive links can affect the chain’s grip on the bar sprocket, indicating a need for shortening or replacement.
- Test Cutting Performance – In the case of uneven cutting or difficulty in cutting through wood where it once easily did, it’s likely time to adjust the chain length.
- Check for Damaged Teeth – If the teeth are noticeably damaged or missing, the chain requires maintenance, and shortening might be part of the process.
Regularly performing these checks ensures the longevity and efficiency of your chainsaw, keeping it ready for any task.
Safety Precautions
Ensuring your safety is paramount when shortening a chainsaw chain. Always wear protective gear and secure the chain before making adjustments. Proper handling and clear instructions keep you safe during maintenance.
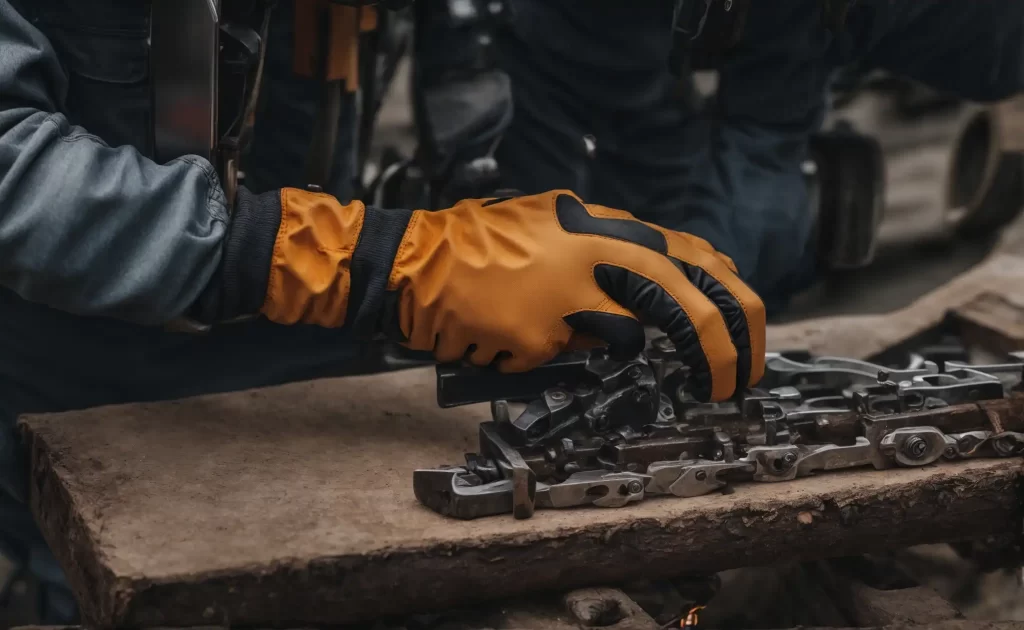
Necessary Safety Gear
- Safety glasses or a face shield to protect your eyes from metal filings
- Heavy-duty gloves — specifically made for chainsaw work to safeguard your hands
- Long-sleeved shirt and pants to avoid skin cuts from flying debris
- Steel-toed boots to protect your feet
- Hearing protection, such as earmuffs or earplugs
Secure Workspace
- Choose a workspace away from flammable materials and foot traffic.
- Ensure the surface is clean, flat, and stable.
- Secure the chainsaw in place, using a vise or clamp, to prevent movement during the process.
- Keep all tools organized and within reach.
- Make sure the area is well-lit to maintain good visibility.
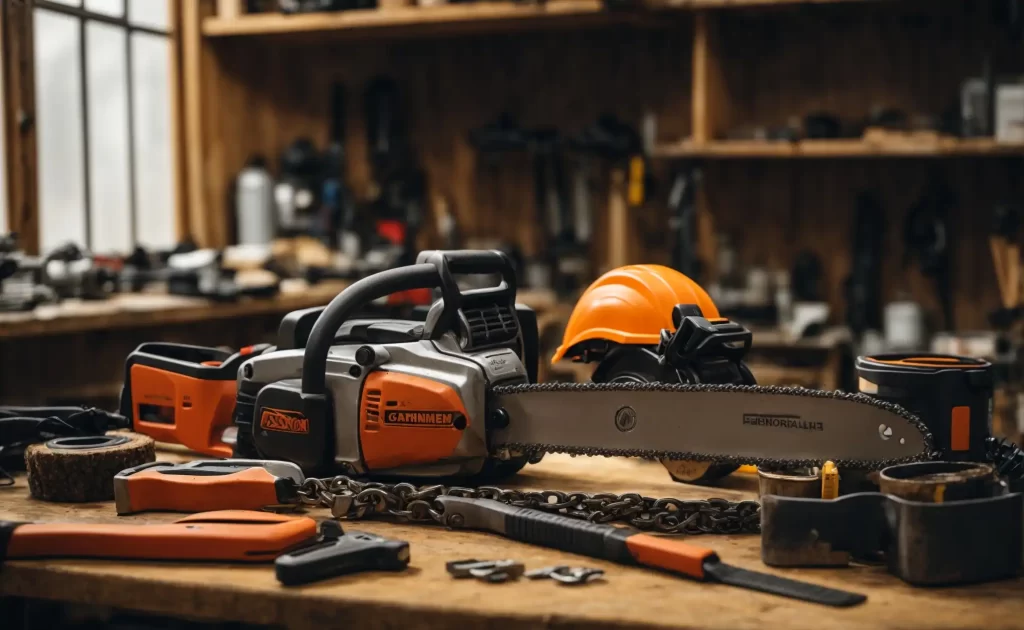
Tools Required For Shortening
Attempting to shorten a chainsaw chain without the right tools can be like trying to cut a towering tree with a butter knife – futile and frustrating. Precise adjustments to your chainsaw’s chain length ensure peak performance and safety. Before diving into the process, equipping yourself with the proper tools is crucial. Let’s discuss the essential instruments you’ll need to make your chainsaw’s chain the perfect fit for your cutting needs.
Essential Tools For the Task
Shortening a chain requires specific tools, each playing a key role in the task:
- Chain Breaker: This is the central tool used to push out the chain’s pins, allowing you to remove links.
- Bench Vice: To secure the chain during the shortening process.
- Flat File: For smoothing out any rough edges after removing chain links.
- Chainsaw Chain Rivet Spinner: For reconnecting the chain links after the desired length is achieved.
Each tool is integral to the process, serving a unique purpose to ensure the integrity and functionality of the chainsaw chain post-adjustment. Skipping any tool could lead to improper fitting and potential chain failure.
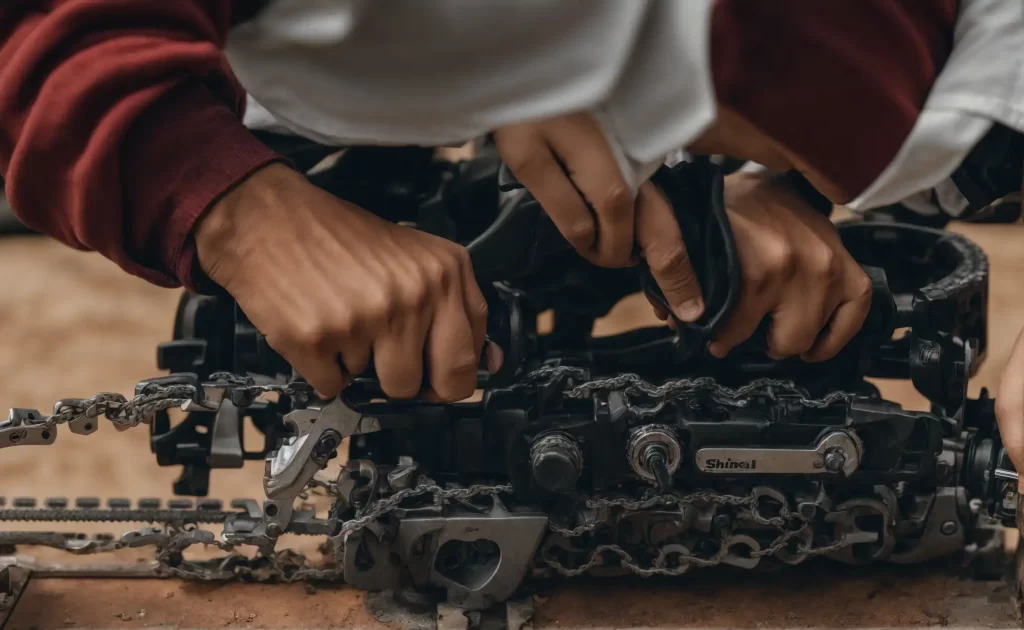
Removing the Chainsaw Chain
Understanding the proper technique to remove your chainsaw chain is crucial to maintaining the longevity and effectiveness of your chainsaw. Whether you’re looking to shorten the chain due to wear or for precise adjustments, the first step involves safely removing the chain from the chainsaw. In this section, we’ll walk you through the process step by step, focusing on safety and accuracy.
Uninstalling the Chain Safely
- Place the chainsaw on a stable, flat surface.
- Loosen and remove the nuts securing the chainsaw’s side cover using an appropriately sized wrench.
- Carefully remove the side cover to expose the chain and bar.
- Relieve the tension on the chain by turning the tension adjustment screw or knob in a counterclockwise direction.
- Now, gently remove the chain from the bar, starting at the top and working your way down, cautiously sliding it off the sprocket.
Ensuring Proper Handling
- Inspect the chain for signs of wear and damage.
- Clean any dirt or sawdust from the chain.
- Lay out the chain on a flat surface for inspection and measurements.
- Handle with care, ideally wearing gloves, to avoid injury from sharp edges.
Measuring and Marking
Before shortening your chainsaw chain, precise measuring and marking are crucial to maintain the saw’s balance and effectiveness. Use a tape measure or ruler to determine the desired chain length, marking links for removal to achieve optimal performance.
Identifying the Correct Length
- Consulting your chainsaw’s user manual to find out the bar length, pitch, gauge, and number of drive links the chain should have.
- Inspecting your current chain to confirm the actual count of drive links.
- Equating the recommended specifications with the current chain’s measurements to identify any discrepancies.
- Deciding on the number of links that need removal to achieve the correct length.
Marking the Chain For Cutting
Once you’ve identified the correct length, marking the chain accurately is vital. Begin by:
- Cleaning the chain thoroughly to improve visibility of the links.
- Securing the chain in a stable position, ensuring it won’t shift during the marking process.
- Using a permanent marker or a metal punch, pinpoint the exact link that aligns with the length you need.
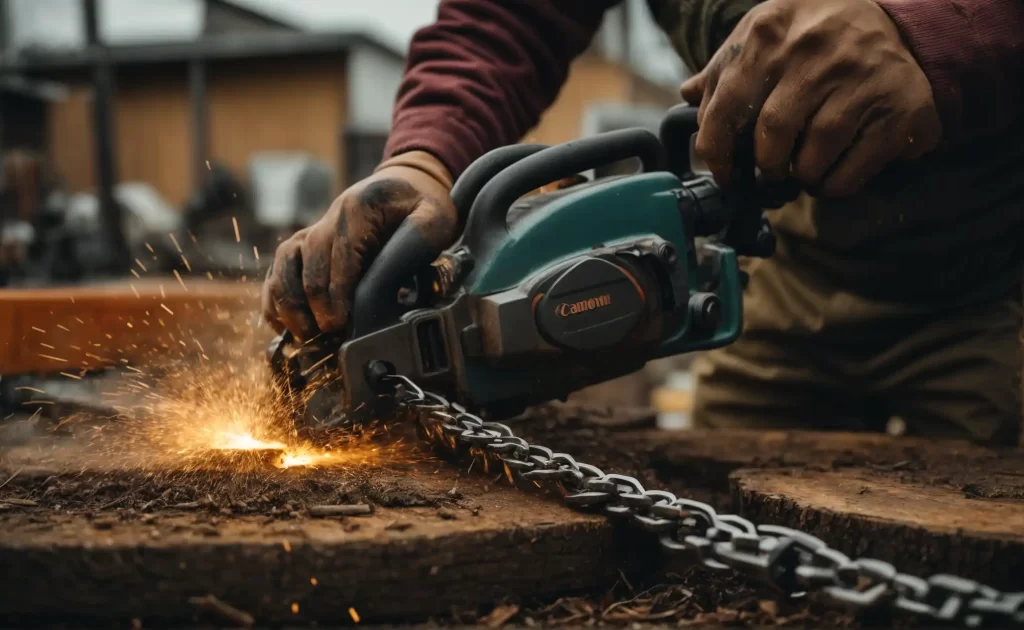
Shortening the Chainsaw Chain
Shortening a chainsaw chain ensures optimal cutting performance. This process involves detaching, sizing, and refastening links, requiring precise tools and safety precautions.
Using the Right Cutting Technique
- Stabilize the chain on a solid surface to prevent it from moving during the procedure.
- Identify the link where you’ll shorten the chain. This should align with the desired chain length for your saw.
- Use the chain breaker to push the rivet out of the link carefully. Apply steady pressure to avoid damaging adjacent links.
- Remove the unwanted links, ensuring that the remaining chain is symmetrical and the drive links are intact.
Ensuring Precision
- Count the links carefully before removal to ensure you’re maintaining the proper chain size for your bar.
- Inspect each link after removal to ensure no damage has occurred during the process.
- Reattach the chain using a spinner, aligning the rivets correctly and clamping them securely.
- Test the modified chain for proper movement and tension.
Reinstalling the Chain
Mastering the art of shortening a chainsaw chain ensures precision in your cuts and extends the life of your equipment. After removing excess links, reinstall the chain, ensuring it fits snugly yet moves freely around the bar for optimal performance.
Proper Reassembly of the Chain
- Place the chainsaw on a stable, flat surface to prevent any movement.
- Locate the guide bar and carefully slide the chain around it, ensuring it fits into the bar groove.
- Align the chain so the drive links engage with the sprocket at the nose of the bar and the motor’s drive sprocket.
It’s essential to double-check the chain’s direction. A backward chain will not cut, even if the chain is tight and the motor is running.
Ensuring the Chain Is Securely Installed
Follow these checkpoints to ensure secure installation:
- Gently pull the chain around the bar to ensure it moves freely.
- Adjust the chain tensioning screw to achieve the right level of tension:
- The chain should snug fit against the bar but still be able to rotate without much resistance.
- Check the tension by lifting the chain away from the bar; it should snap back into place.
- Once the tension is set correctly, tighten the bar nuts to fix the bar in place.
Conduct a final inspection by wearing gloves and ensuring the chain does not sag or bind against the bar. A properly installed chain maximizes both the safety and efficiency of your chainsaw.
Ways to Shorten a Chainsaw Chain: DIY Guide
Preparation and Safety Measures:
Identifying the Chain Type and Measurement:
Removing Excess Links:
Reassembling and Testing the Chain:
To know more: Are Chainsaw Bars Interchangeable
Testing and Adjustment
Ensuring the proper length and tension of your chainsaw chain is crucial for safe and efficient operation. Before getting into the nitty-gritty of shortening your chainsaw chain, it’s essential to test the current condition and make the necessary adjustments. This part of the process can prevent accidents and improve the lifespan of your chainsaw. Let’s delve into how you can check the tension of the chain and make adjustments as needed.
Checking the Tension Of the Chain
- Pull the chain upward from the top of the bar and release it.
- Observe the chain as it settles back against the bar.
- The chain should snap back into place, indicating optimal tension.
If the chain hangs loose or seems too tight to move freely, an adjustment is imperative.
Making Adjustments As Necessary
Adjusting the chainsaw chain is a straightforward task:
- Locate the chain tensioning screw on your chainsaw. This is often found near the bar, and may require a screwdriver or a specialized tool provided with your chainsaw.
- Turn the tensioning screw clockwise to tighten the chain, or counter-clockwise to loosen it.
- Check the tension again using the method described earlier to confirm the adjustment is correct.
Read more: Chainsaw Starts Then Dies
FAQs Of How To Shorten A Chainsaw Chain
Can I Put A Smaller Chain On My Chainsaw?
You should not install a smaller chain on your chainsaw. Always use a chain that matches the manufacturer’s specifications for optimal safety and efficiency.
How Do I Stop My Chainsaw Chain From Stretching?
To prevent your chainsaw chain from stretching: regularly check tension, avoid cutting with a dull chain, use proper lubrication, and do not over-tighten during adjustments. Proper maintenance and handling are key.
How do you Adjust the Tension on a Chainsaw Chain?
To adjust a chainsaw chain, first, ensure the chainsaw is off and cool. Then, loosen the nuts on the guide bar side panel. Adjust the tensioning screw to tighten or loosen the chain as needed. Check that the chain can rotate freely, and then retighten the nuts.
What Does the Raker Do On A Chainsaw Chain?
The raker on a chainsaw chain sets the depth of the cut, ensuring efficient, even cutting through wood without excessive grab or kickback. Each raker acts as a depth gauge to help maintain optimal cutting performance.
Conclusion
Trimming a chainsaw chain need not be daunting. With the right tools and steps, you can ensure a precise cut every time. Remember to maintain safety protocols during this DIY task. A well-adjusted chain makes for efficient woodcutting. Now, go sharpen your chainsaw skills!
Chainsaw Hive is your hub for all things chainsaw. Don’t miss out on our next guide!