To put a chain on a chainsaw, ensure the cutting teeth point forward on the top part of the bar. Correct chain direction enhances safety and cutting efficiency.
A chainsaw is a powerful tool that requires proper maintenance to function effectively. The chain, being a critical component, must sit on the saw correctly for optimum performance and safety. Ensuring the teeth are facing the right direction can be the difference between a seamless cut and a potential hazard.
Aligning the chain on the guide bar precisely is not just a maintenance step; it’s a necessity that impacts the saw’s operation and the user’s safety. Whether you are a professional arborist or a homeowner with occasional trimming needs, knowing how to place your chainsaw chain correctly can save you time and prevent accidents. Therefore, mastering this simple yet essential task will ensure your chainsaw is ready and safe for use whenever you need it.
Importance Of Proper Chain Installation
Ensuring your chainsaw’s chain is correctly mounted ensures optimal performance and safety. Direction matters; an incorrectly installed chain can lead to poor cutting results and increased wear or risk of injury.
Safety Implications
- Kickback: This occurs when the chainsaw’s nose or tip touches an object, or when the wood closes in, pinning the chain. Correct installation helps to reduce this risk.
- Chain Snap: If a chain is too loose or installed backwards, it can snap and throw off sharp pieces at high velocity.
- Loss of Control: An incorrectly tensioned chain can cause the saw to jerk uncontrollably, leading to operator fatigue and potential loss of control.
Consistent vigilance in chain installation will significantly cut down the chance of these dangerous occurrences and promote a safer work environment.
Chainsaw Performance and Efficiency
- Enhanced Cutting Precision: A well-installed chain ensures straight cuts and reduces the likelihood of jagged or uneven cutting patterns.
- Optimal Power Use: An accurately installed chain will match the chainsaw’s power output, allowing for the most efficient use of the engine’s capabilities.
- Reduced Wear: Proper tension and alignment mean less strain on the chainsaw’s engine and drive sprocket, resulting in less wear and a longer lifespan for the chainsaw.
- Improved Fuel Economy: When a chain is installed correctly, the chainsaw works more efficiently, which can result in better fuel economy and fewer emissions.
Thus, understanding and implementing the correct procedure for chain installation can lead to a better functioning chainsaw, more accurate cuts, and overall cost savings on maintenance and fuel.
Identifying the Correct Direction
Ensuring your chainsaw’s chain is mounted in the correct direction is crucial for safety and efficiency. A chain installed backwards will result in poor cutting performance and can potentially be dangerous. To avoid this issue, it’s essential to understand how to properly inspect the chain and guide bar and recognize the correct orientation of the cutting teeth. Follow these steps to guarantee you’ve got your chain lined up perfectly for optimal cutting power.Inspecting the chain and guide bar
Inspecting the Chain and Guide Bar
Before fitting a chain onto your chainsaw, a thorough inspection of the chain and the guide bar is necessary. Check for any signs of wear or damage that could affect performance or safety. The guide bar must be straight and free from obstructions, ensuring smooth movement of the chain.
- Examine the guide bar for any warps or bends.
- Look for even wear across its length and ensure it’s clean.
- Inspect the chain for broken or dull links and ensure it’s the correct size for your saw.
Recognizing the Cutting Teeth Orientation
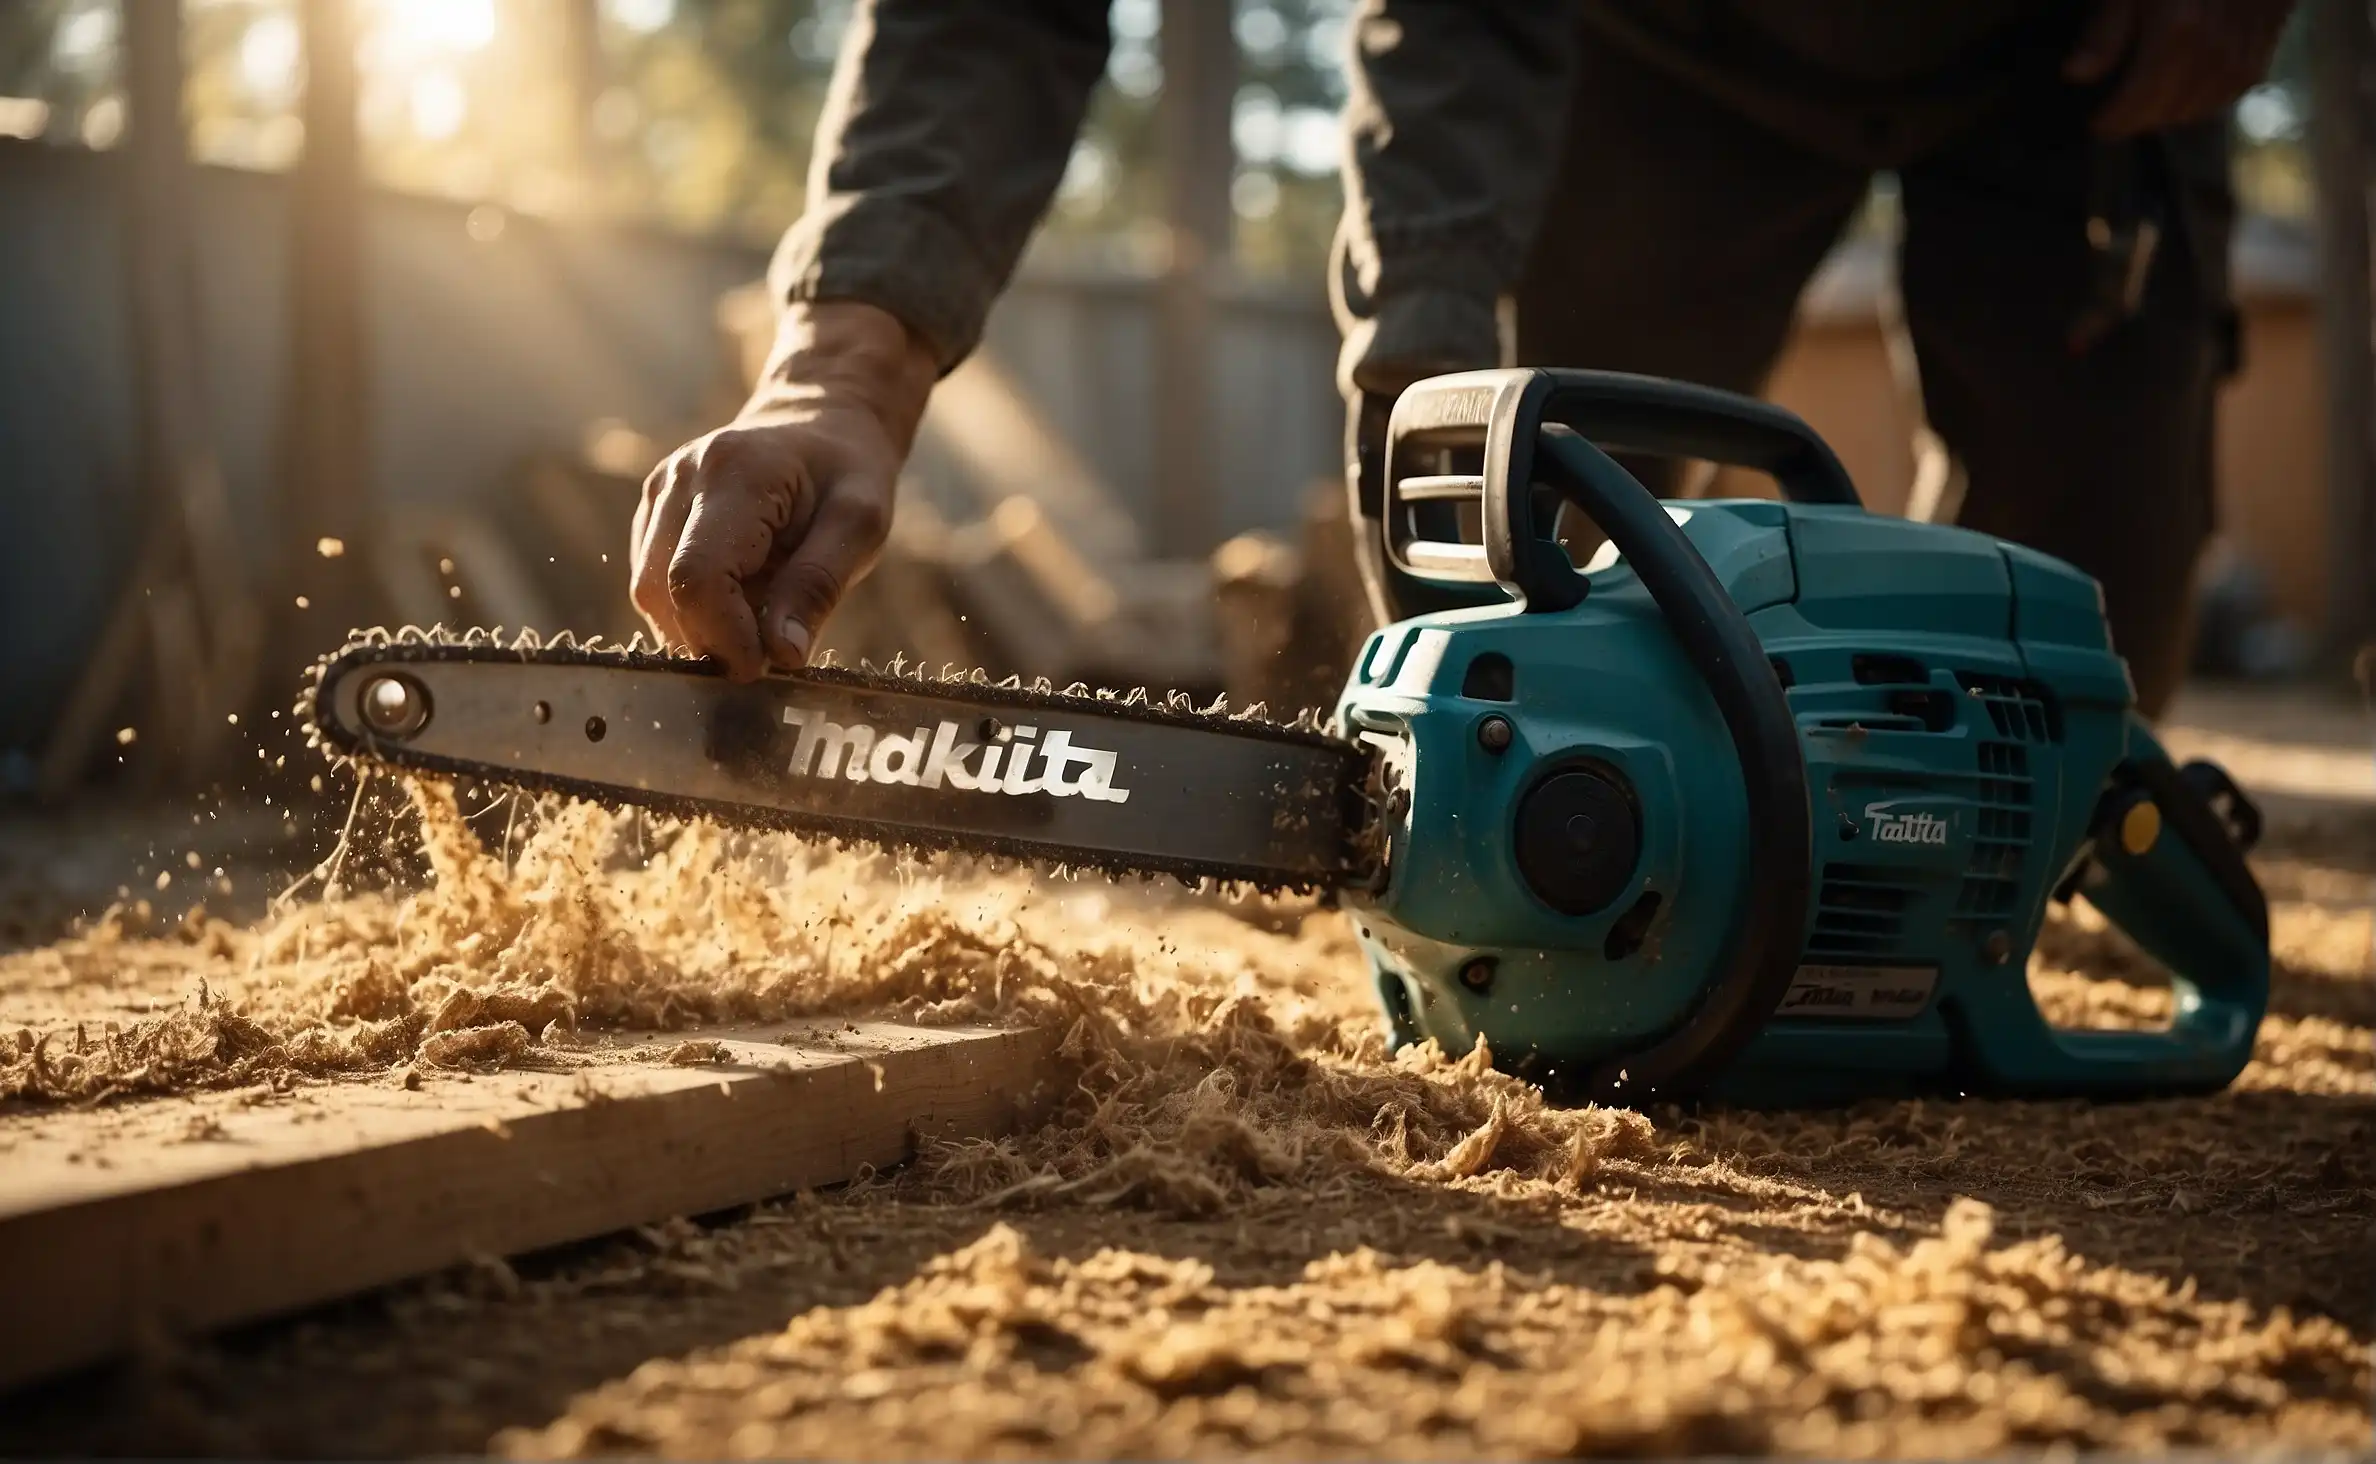
The orientation of the cutting teeth is the definitive factor in determining the correct way to install the chain. The sharp edge of the tooth should face forward towards the tip of the guide bar when it’s on top, and face backwards on the bottom as it returns to the motor.
| Position on Guide Bar | Direction of Sharp Edge |
|---|---|
| Top Side | Sharp edge facing forwards |
| Bottom Side | Sharp edge facing backwards |
Preparation Before Installation
Proper chain orientation ensures optimal chainsaw performance. Before installation, verify that the chain’s cutting teeth are facing forward on the top edge. This simple step is critical for safe and effective chainsaw operation.
Clearing Debris and Ensuring the Chain Brake Is Engaged
- Turn off the engine or unplug the saw / remove the battery.
- Clean all areas of the chainsaw, focusing on the bar where the chain will sit.
- Engage the chain brake to lock the chain in place during installation.
Step-by-step Chain Placement Process
Ensuring the correct chain orientation on your chainsaw is critical for safe and efficient cutting. The step-by-step chain placement process involves aligning the chain’s cutting teeth to face forward on the top side of the bar. This technique promotes optimal performance and reduces the risk of accidents.
Positioning the Chain On the Guide Bar
Start by laying out your chainsaw, guide bar, and new chain. Ensure the chainsaw is switched off and the engine is cool. For safety, it’s best to wear gloves.
Learn: Where is Ironhorse Chainsaw Located
Testing and Adjusting the Chain
Understanding the proper orientation for a chainsaw chain is crucial for optimal performance. Ensure the cutting teeth face forward on the top of the bar during installation, which promotes effective cutting and enhances safety. Regular adjustments maintain tension, preventing slippage or snapping.
Ensuring Smooth Rotation of the Chain
To kickstart, confirm the chain’s smooth rotation. Switch off the engine and don protective gloves. Grip the chain lightly and pull it along the bar. It should rotate without hitches. A flawless rotation indicates a job well done, while any stiffness necessitates further adjustments.
Checking the Tension With the Chain Brake Disengaged
- Disengage the chain brake.
- Use your fingers to lift the chain lightly off the bar.
- The chain should snap back into place with minimal give.
- If it doesn’t, use the tensioning screw to adjust until you achieve the right tension.
Your chainsaw is your ally in landscaping and lumber tasks. A well-adjusted chain translates to safer, cleaner cuts and a longer life for your chainsaw.
Common Mistakes To Avoid
One crucial step often overlooked by chainsaw users is properly installing the cutting chain. Simple mistakes can lead to less effective cutting, accelerated wear, or even hazardous situations. Recognizing and avoiding these common errors ensures your chainsaw operates at its best and lasts longer. Below are key errors to watch out for:
Incorrect Chain Orientation
- Top of the bar: The cutting edges face forwards.
- Bottom of the bar: The cutting edges face the user.
This ensures that the chain cuts effectively when applied to the material. If the chain looks like it’s on backward, remove it and reorient it correctly before use.
Over-tightening Or Under-tightening the Chain
| Over-tightening Issues | Under-tightening Issues |
|---|---|
| Increased wear on bar and sprocket | Potential for the chain to derail |
| Possibility of snapping the chain | Compromised cutting precision |
Maintenance and Ongoing Care
Ensuring your chainsaw operates smoothly necessitates proper chain placement. Regular maintenance, including correctly installing the chain, is pivotal for optimal performance and safety.
Regular Chain Inspection and Sharpening
- Inspect the chain before each use for sharpness and proper tension.
- Look for damaged or worn links and teeth.
- Clean off any debris or sap buildup that can impede your chainsaw’s operation.
- Use a specialized file or sharpening tool according to the manufacturer’s specifications to maintain a sharp edge.
- Ensure the chainsaw’s chain is adequately lubricated to reduce wear and ensure it runs smoothly over the guide bar.
Monitoring for Signs of Wear and Tear
- Cracks in the chain that could lead to breakage.
- Evidence of over-stretching, which may require chain adjustment or replacement.
- Signs of uneven wear; this could indicate an issue with the chainsaw itself that requires further inspection.
- Rust or corrosion, which diminishes the integrity of the chain and its effectiveness in cutting.
- Loose rivets or links that could pose a safety risk and affect cutting accuracy.
FAQs on Which Way to Put a Chain on a Chainsaw
Which Way Do You Put a Chain on a Stihl Chainsaw?
Ensure the Stihl chainsaw is off. Open the sprocket cover. Position the chain so the cutting edges face forward on the top side. Attach the chain around the sprocket, aligning with the guide bar. Secure the sprocket cover and tighten the chain appropriately.
Which Way Does a Chain Go on a Husqvarna Chainsaw?
Ensure the cutting teeth on the Husqvarna chainsaw chain face forward when installing it. The chain should move clockwise around the bar.
What Is the Correct Way to Use a Chainsaw?
Always wear protective gear, including gloves and goggles, before using a chainsaw. Secure the area and ensure stable footing. Hold the chainsaw with both hands for control. Start cutting at full throttle and use a smooth, steady motion. Regularly maintain the chainsaw for optimal safety and performance.
Where Is the Pitch on a Chainsaw Chain?
The pitch on a chainsaw chain refers to the distance between three consecutive rivets, divided by two. It helps determine chain compatibility with the chainsaw bar and sprocket.
Conclusion
Securing the chain correctly on your chainsaw ensures top performance and safety. Remember to follow the manufacturer’s guide and wear protective gear during installation. With your chain positioned right, you’re ready for efficient and effective cutting. Keep your chainsaw in peak condition for a job well done every time. Continue your chainsaw education with Chainsaw Hive – delve into our Knowledge section for more expert guides and tips.